Mounting


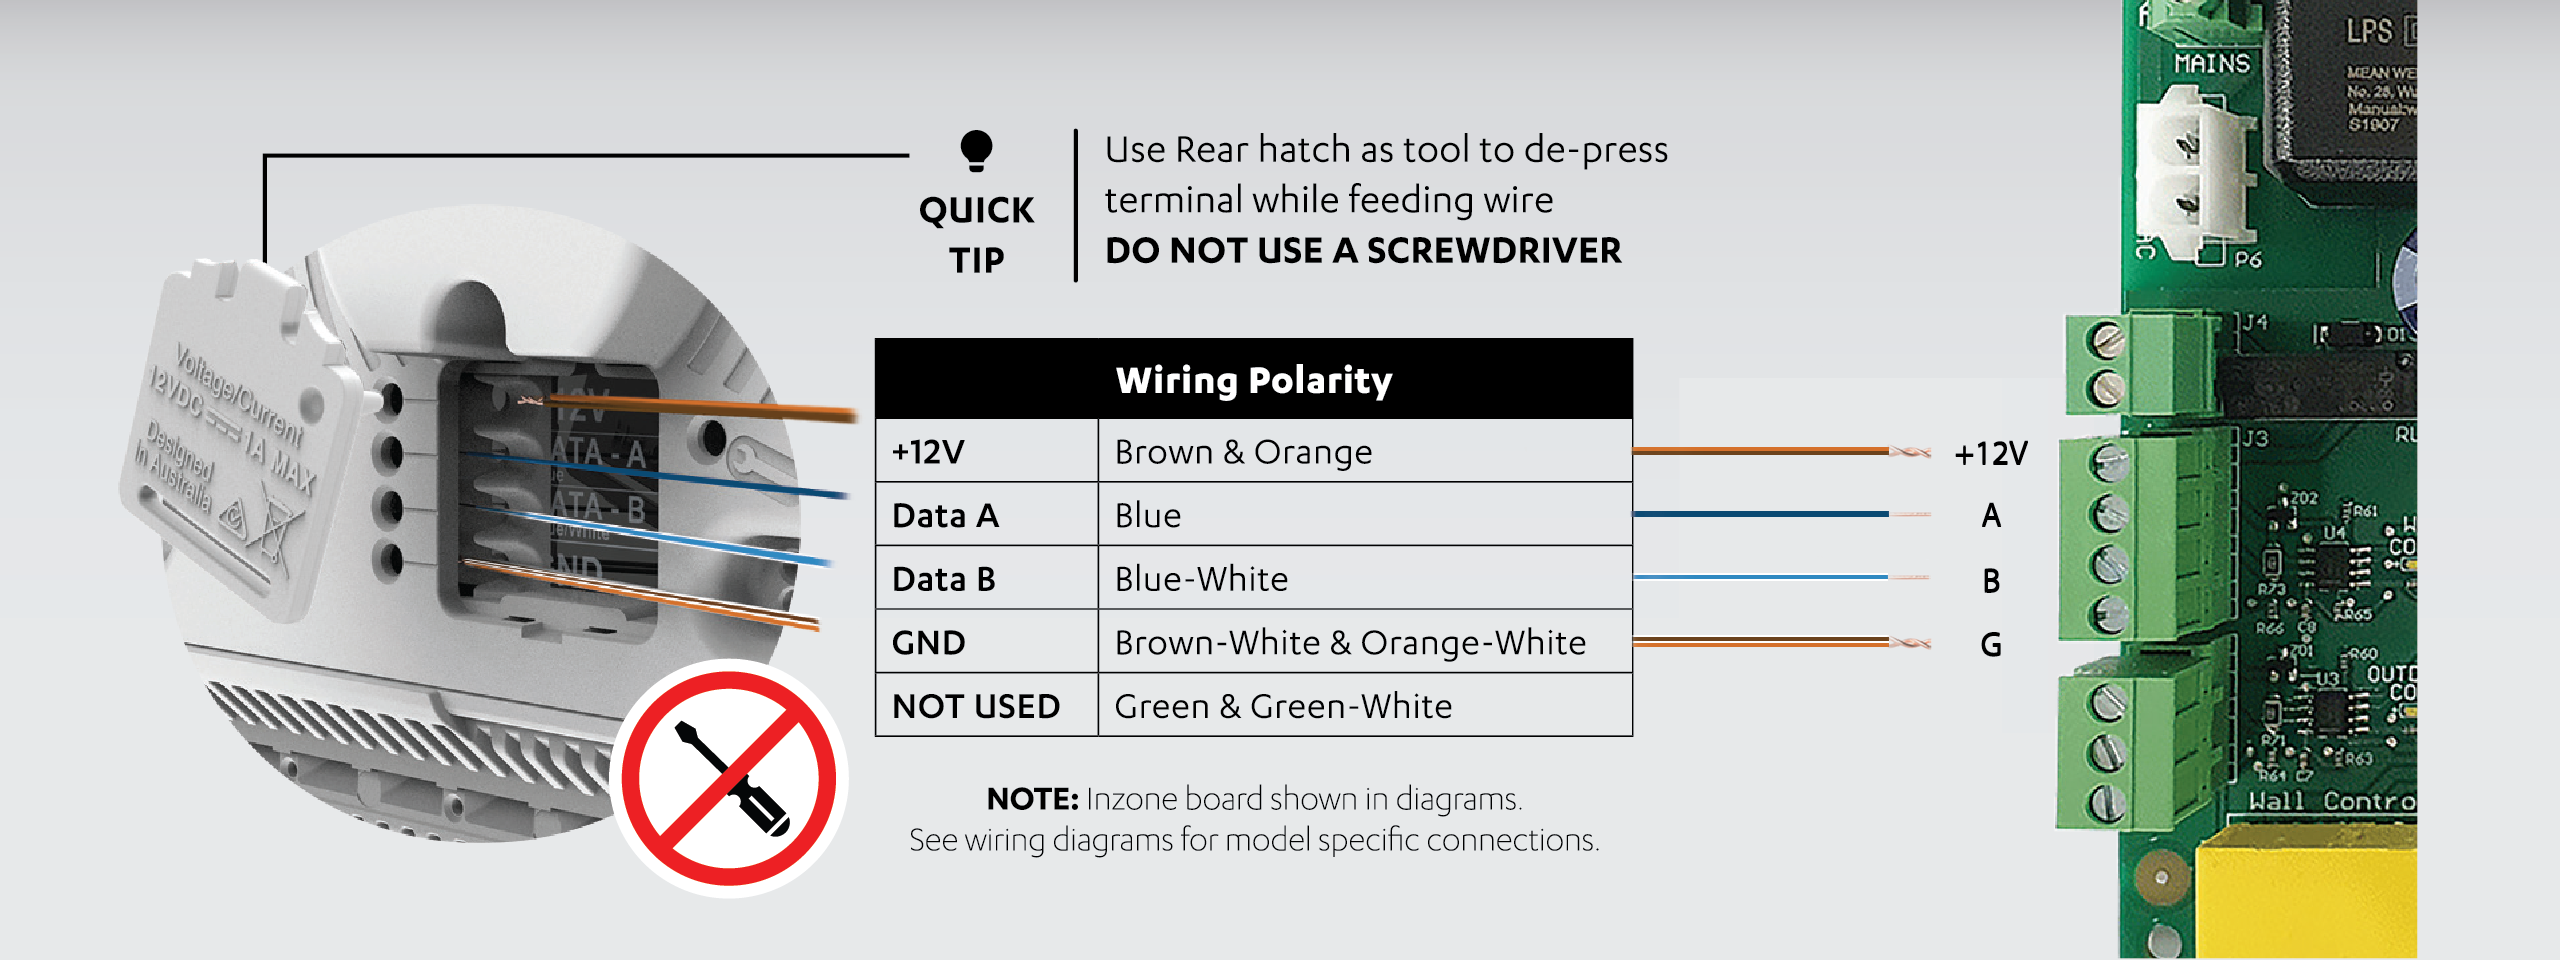
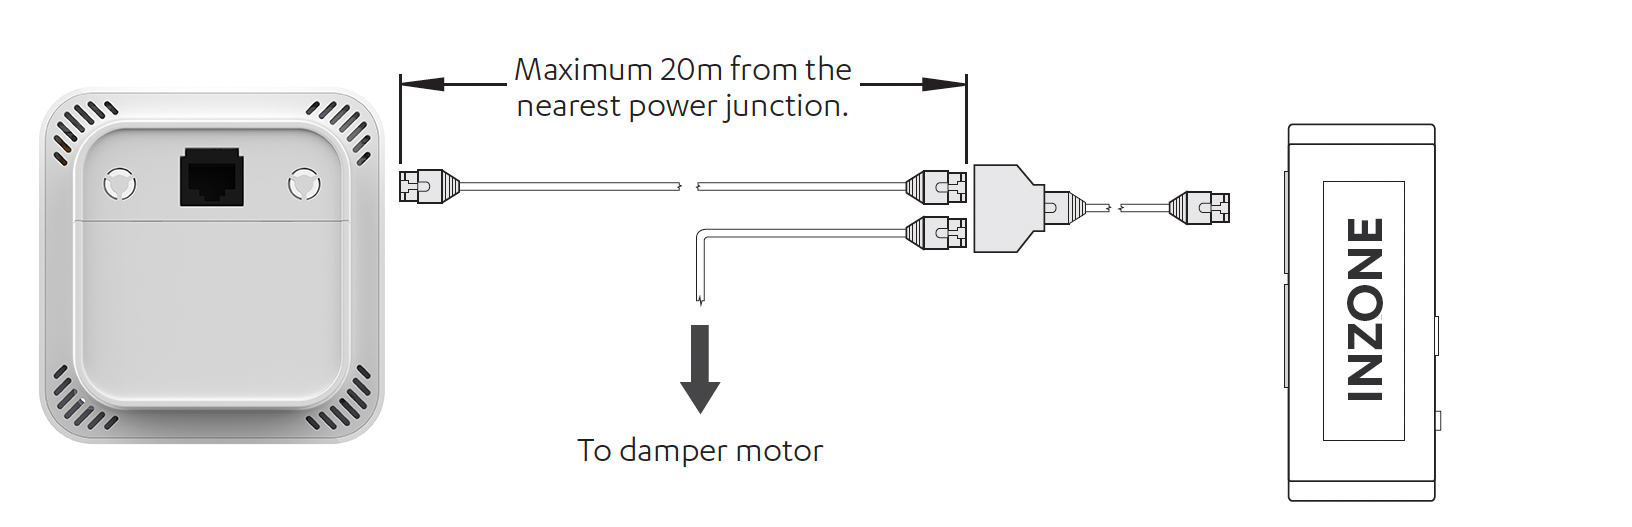
Wiring Options
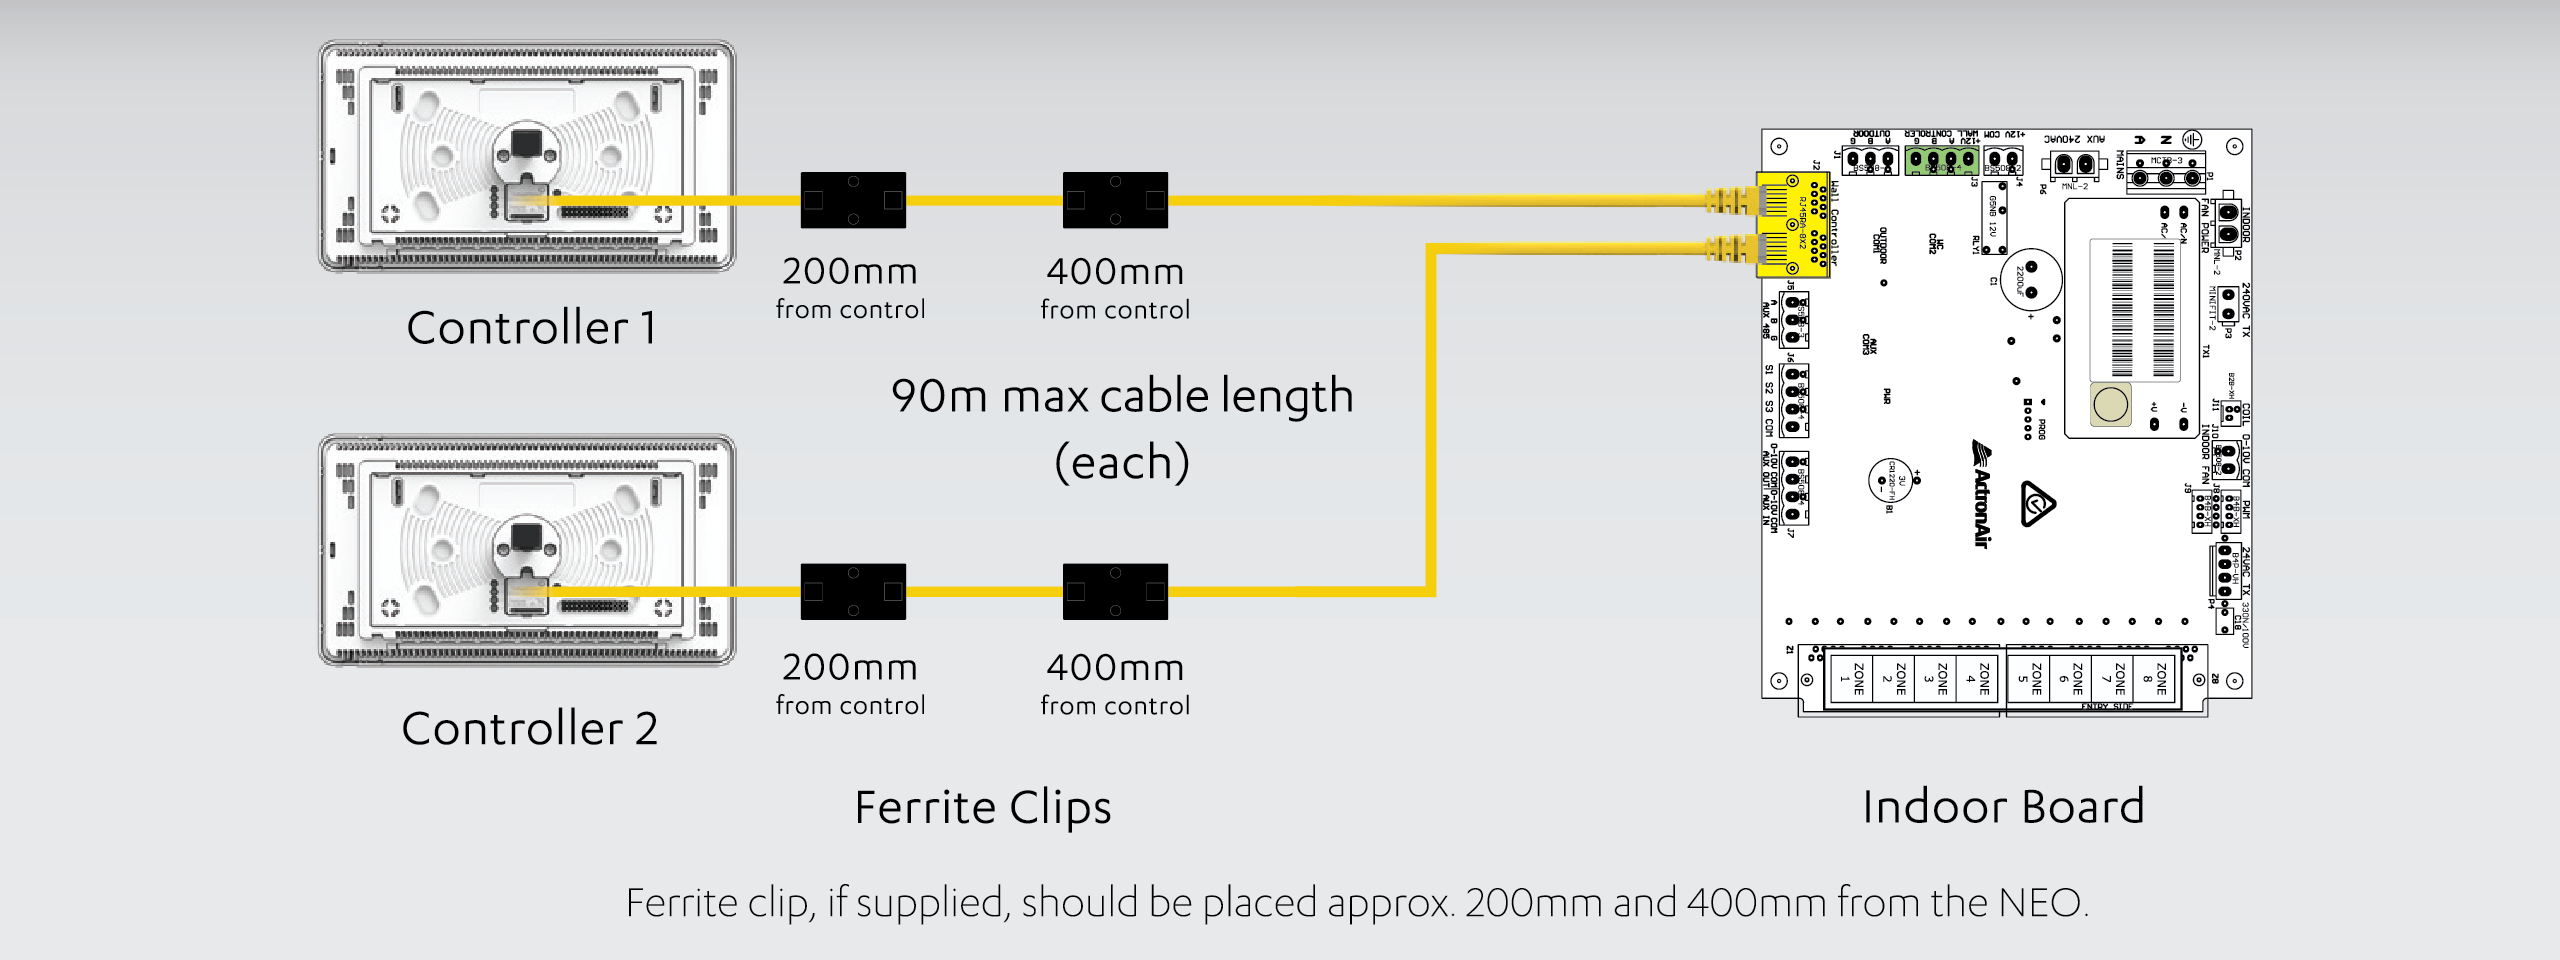


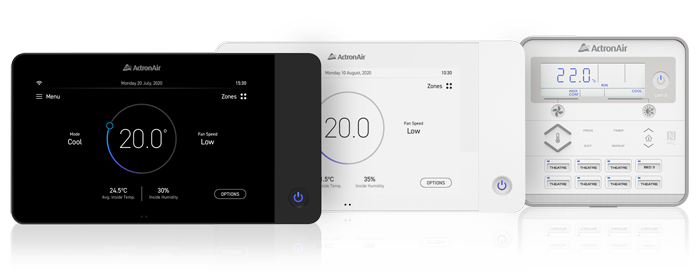
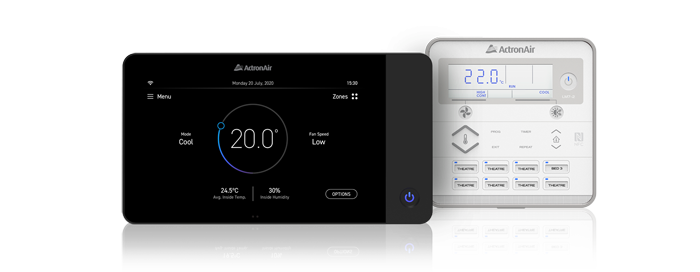
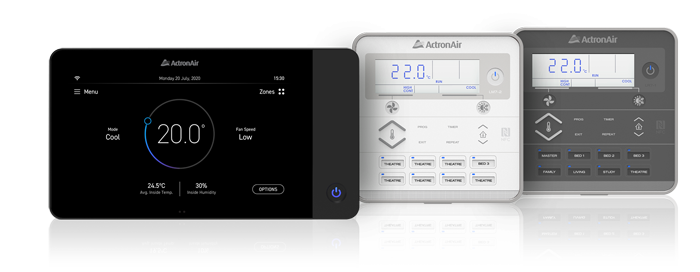
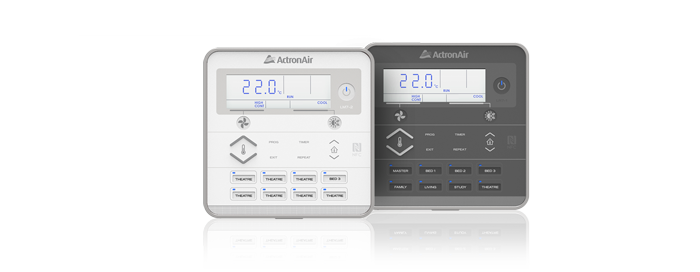
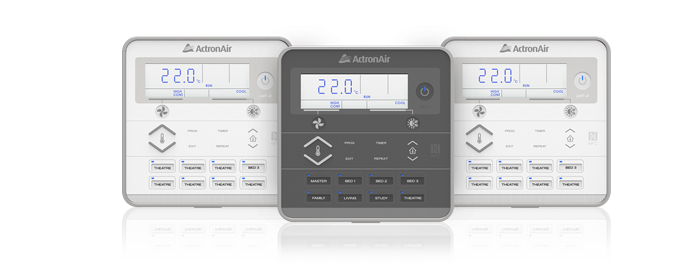
Controller Combinations


Guided Commissioning


Installer Code
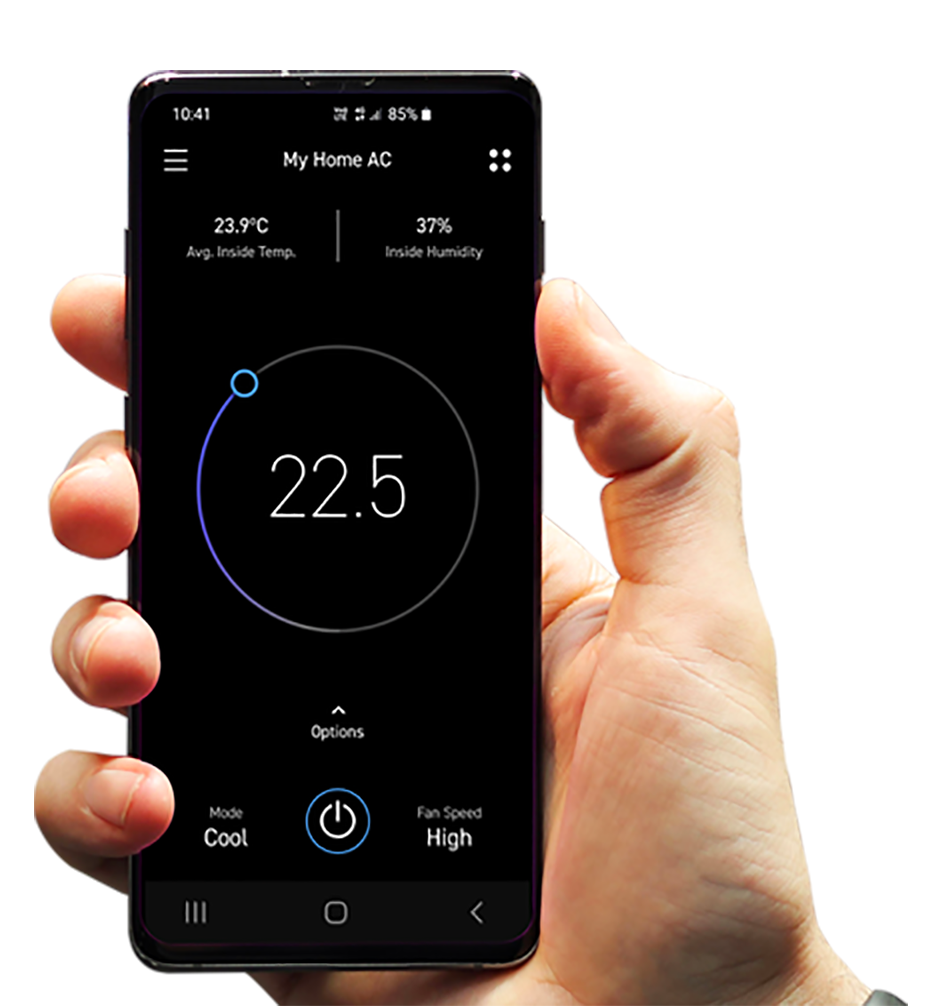
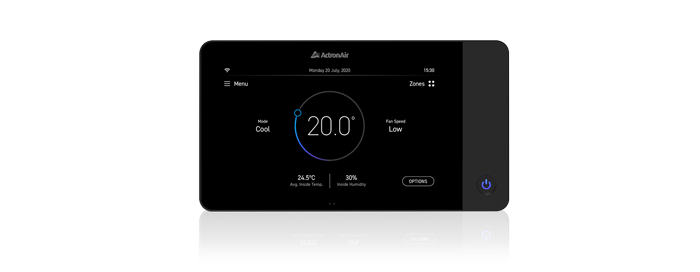
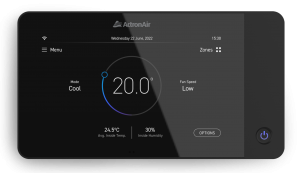
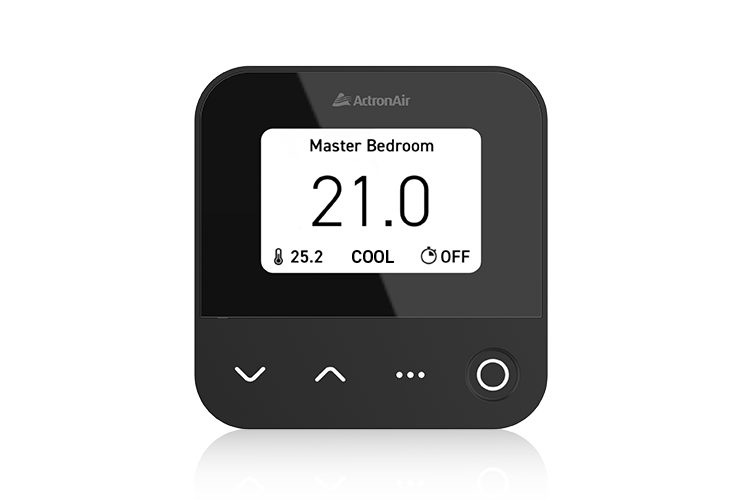
Dashboards


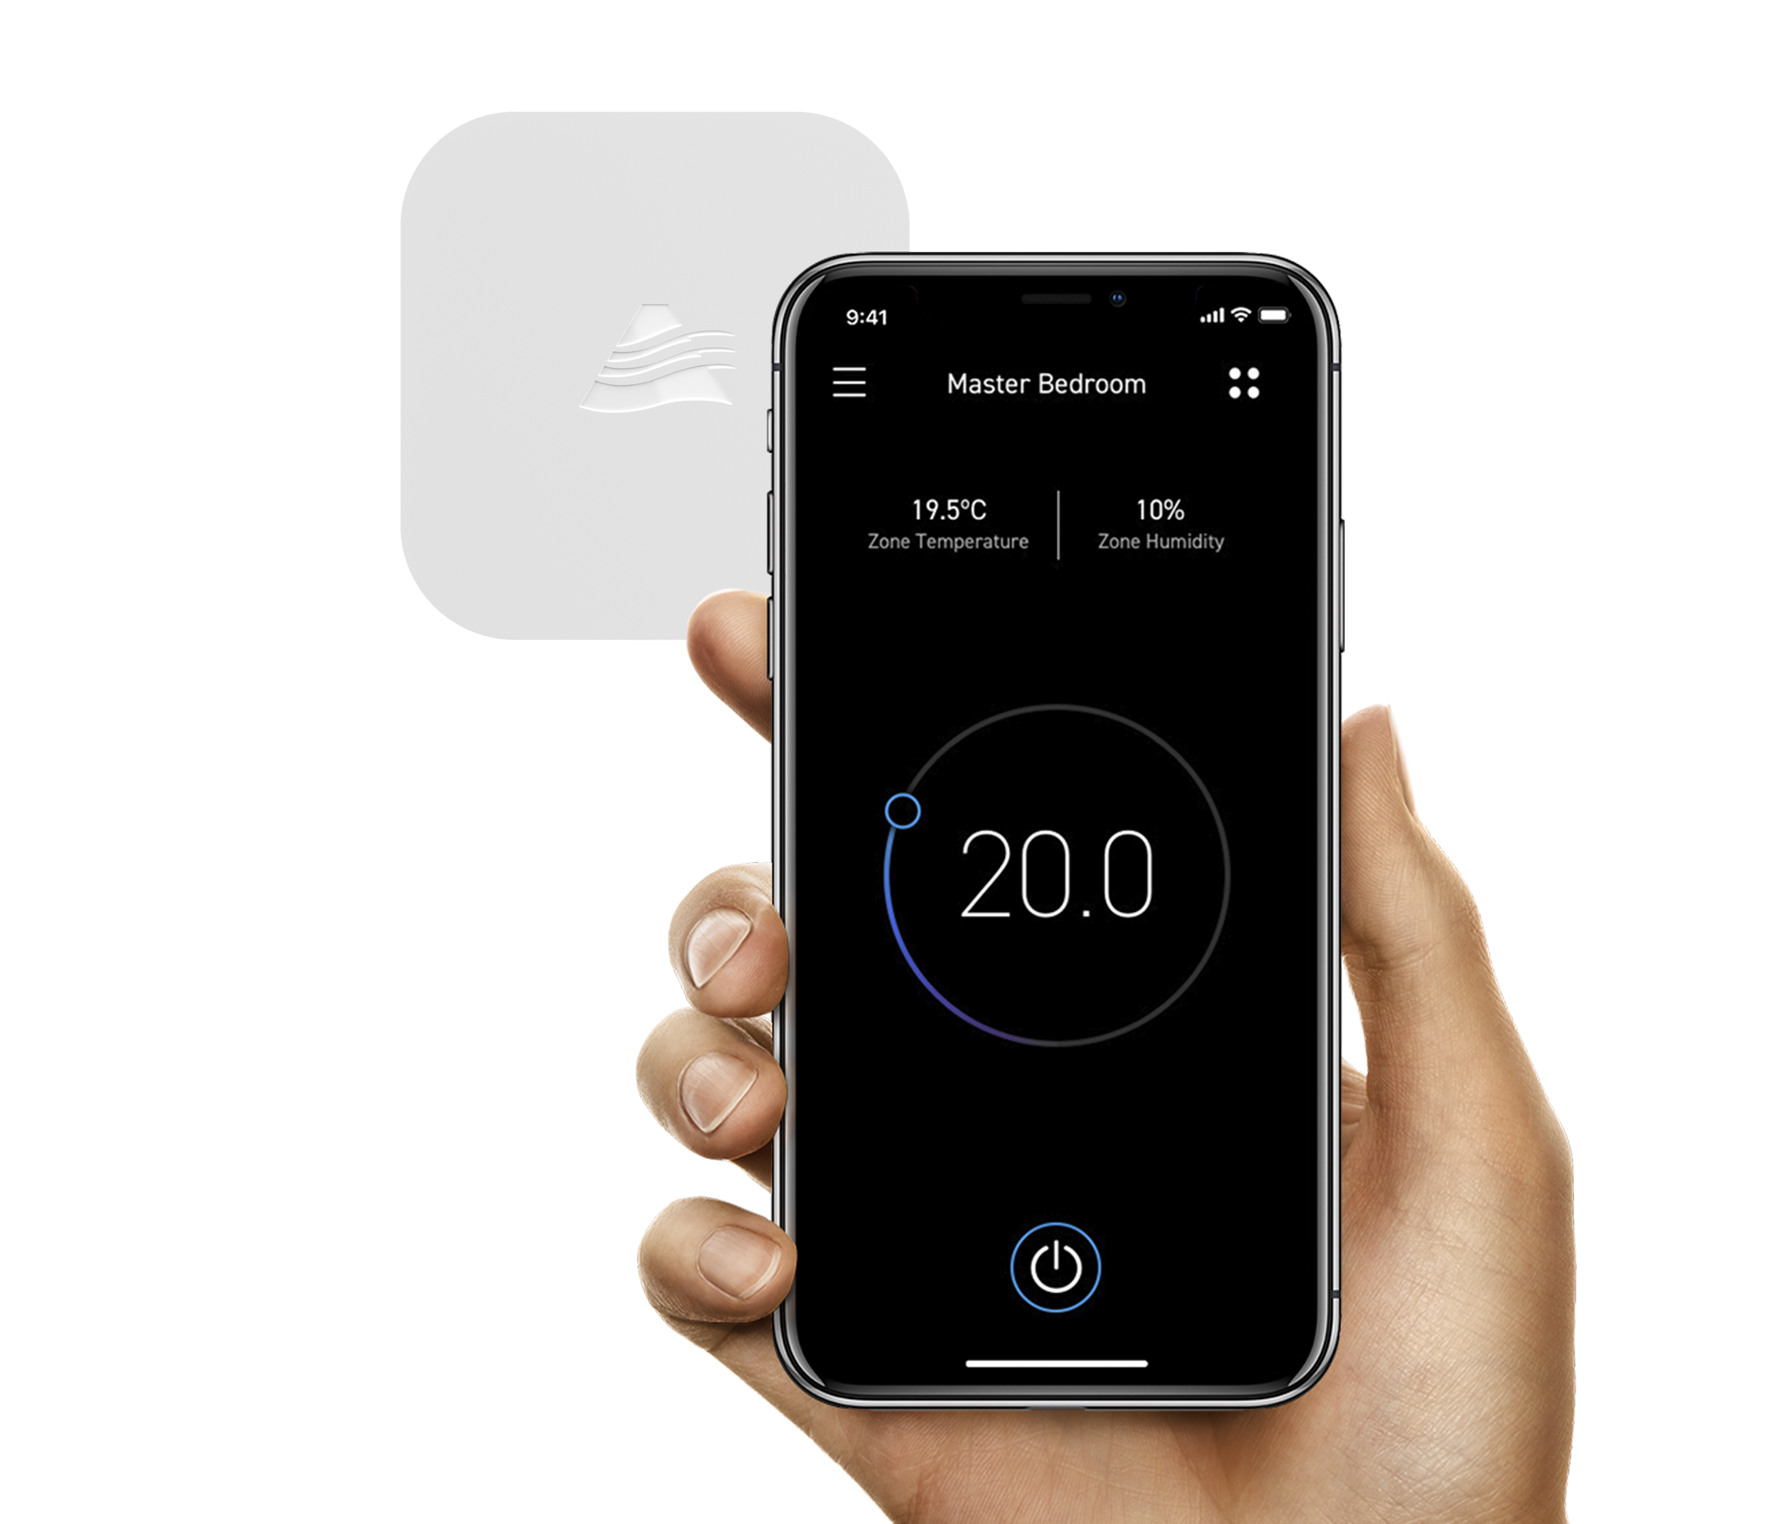
For Advance systems, when a Zone Device (Zone Control or Zone Sensor) is assigned to a zone, Individual Temperature Control will be available through the Zone Menu.
For Zones that do not have an assigned Zone Device, Individual Temperature Control will not be available.
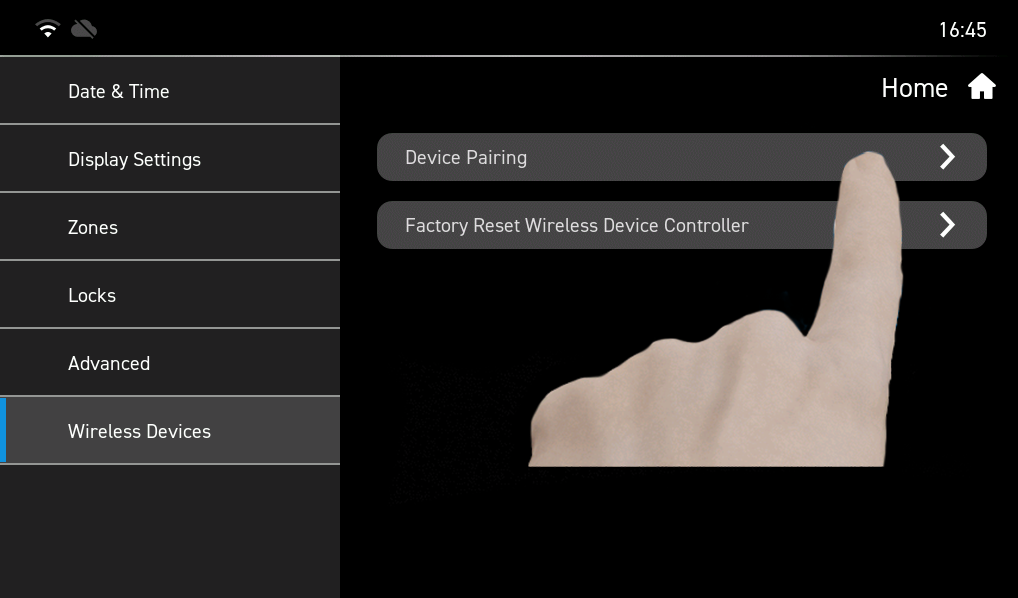
To navigate to an individual zone page, tap on its right arrow![]() .
.

Zone Combinations
| Scenario | Sensor Used | Zone Type | Zone Barrel | Zone Control |
|---|---|---|---|---|
|
1. |
|
Basic On/Off |
Fully Open/Close |
On or Off (manual) |
|
2. |
|
Basic On/Off |
Fully Open/Close |
On or Off (manual) |
|
3. |
Avg. Temp Reading |
Basic On/Off |
Fully Open/Close |
On or Off (manual) |
|
4. |
Avg. Temp Reading |
Basic On/Off |
Fully Open/Close |
On or Off (manual) |
| Scenario | Sensor Used | Zone Type | Zone Barrel | Zone Control |
|---|---|---|---|---|
|
1. |
|
Comfort VAV |
Modulating |
Temperature Controller |
|
2. |
|
Comfort VAV |
Modulating |
Temperature Controller |
|
3. |
Avg. Temp Reading |
Comfort VAV |
Modulating |
Temperature Controller |
|
4. |
Avg. Temp Reading |
Comfort VAV |
Modulating |
Temperature Controller |
|
5. |
|
Comfort VAV |
Modulating |
Temperature Controller |
|
6. |
Avg. Temp Reading |
Comfort VAV |
Modulating |
Temperature Controller |
|
7. |
Avg. Temp Reading |
Comfort VAV |
Modulating |
Temperature Controller |
|
8. |
Sensor shared for multiple zones |
Basic On/Off |
Fully Open/Close |
On or Off (manual) |
|
9. |
Basic On/Off |
Fully Open/Close |
On or Off (manual) |
NEO Specifications
Retrofit
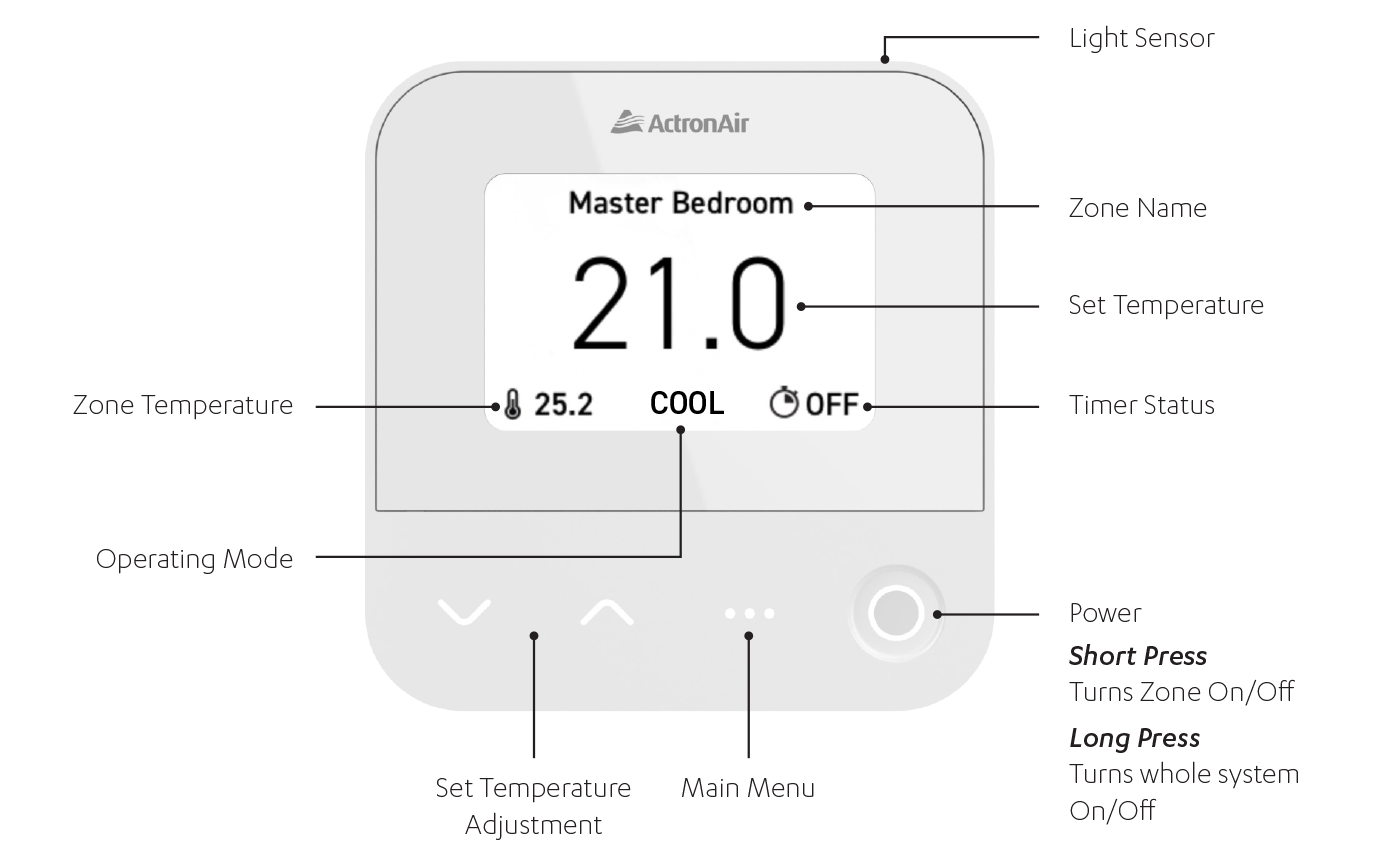
Overview

Installation Requirements
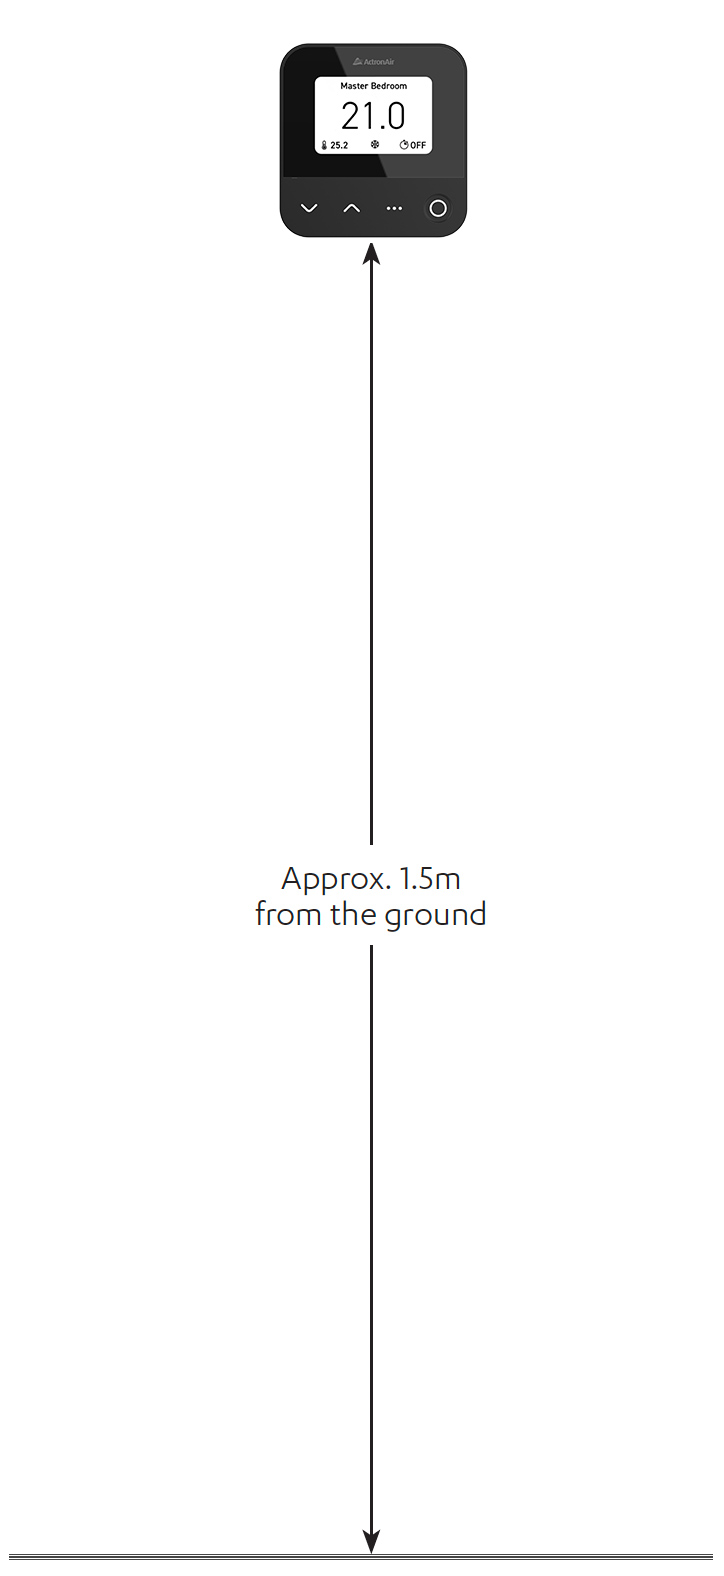
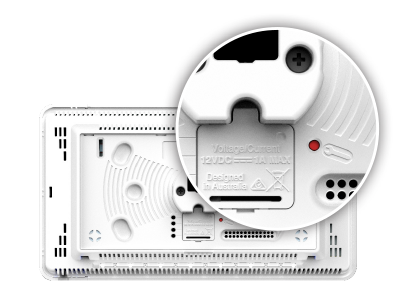
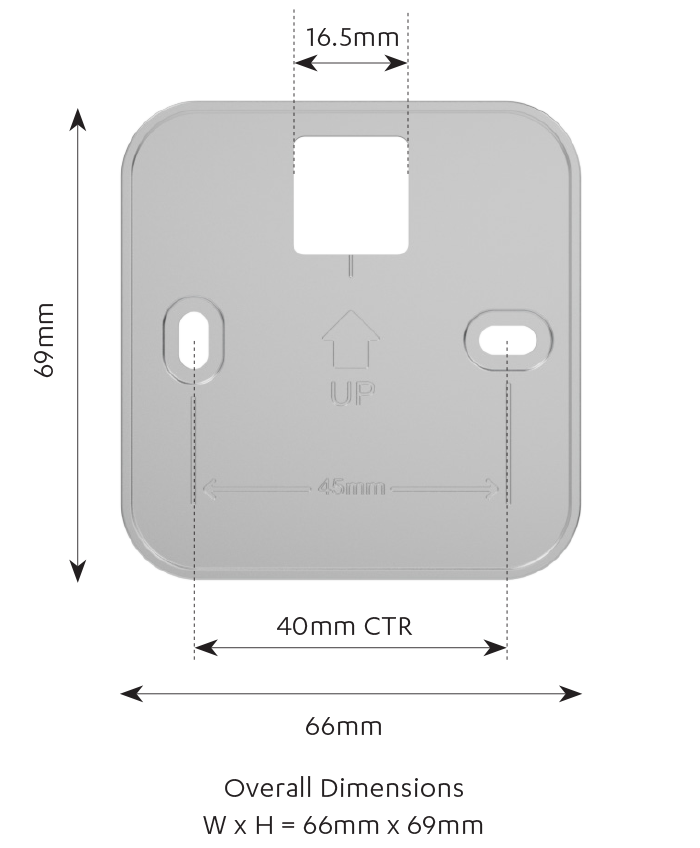
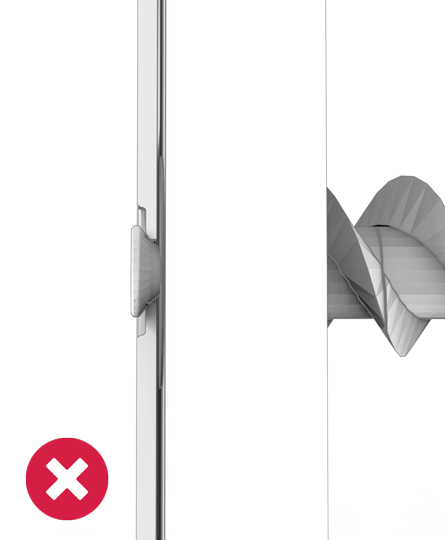
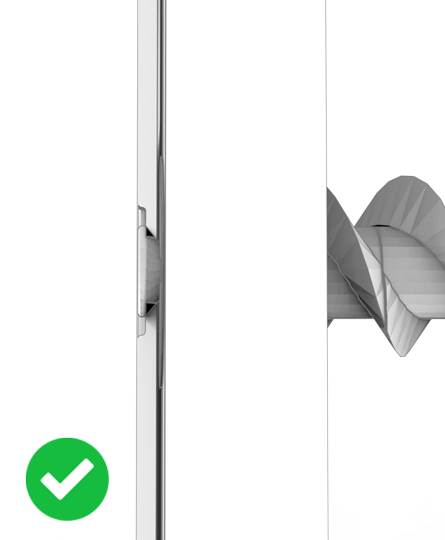
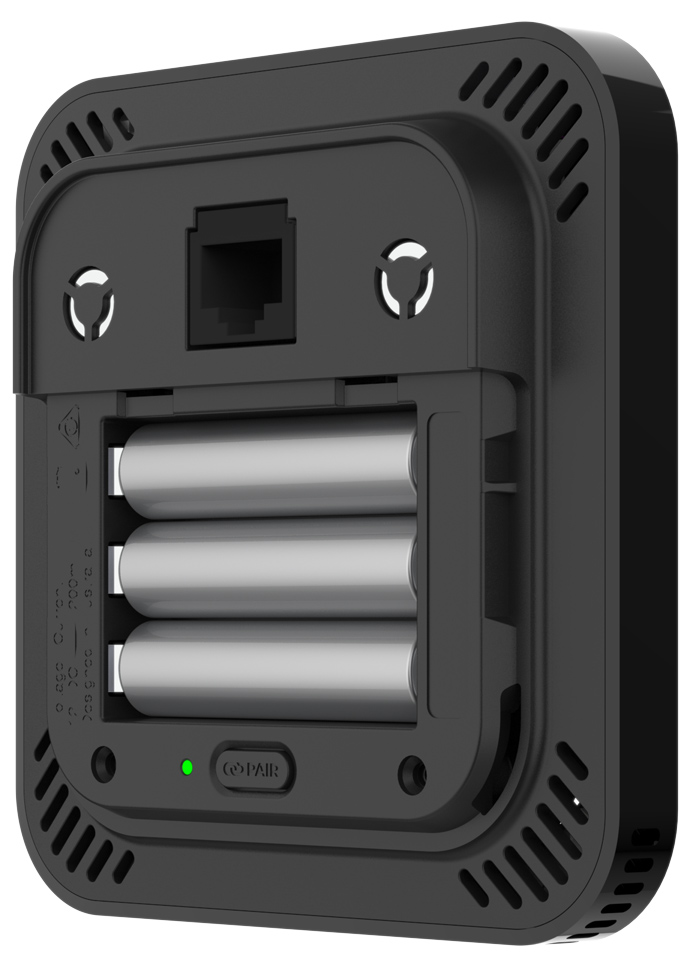
Wall Mounting Instructions
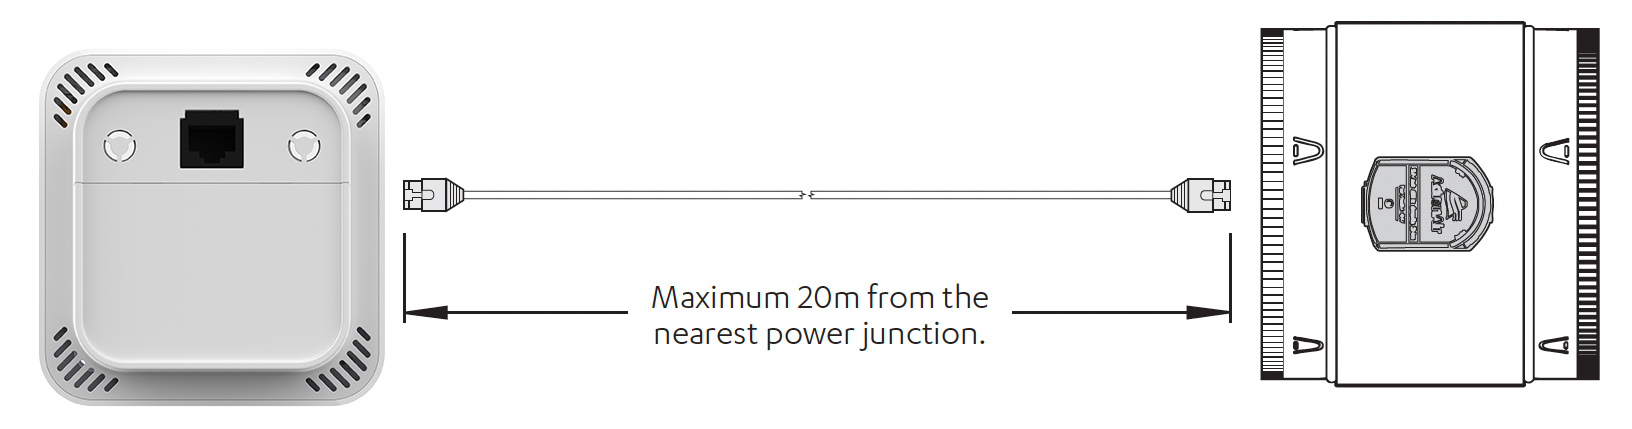
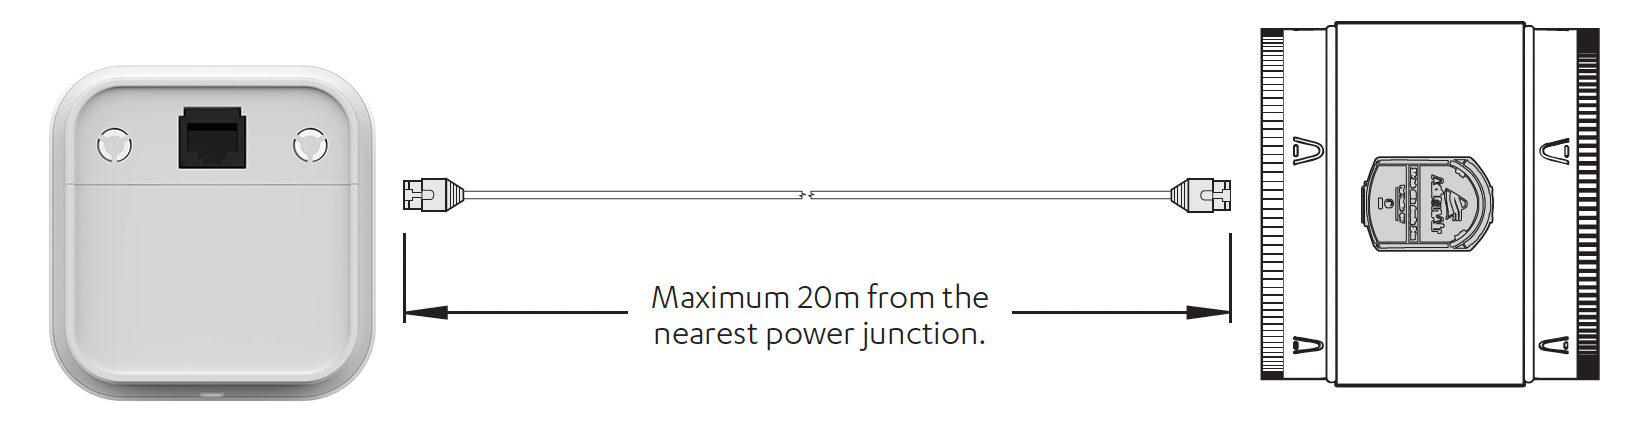
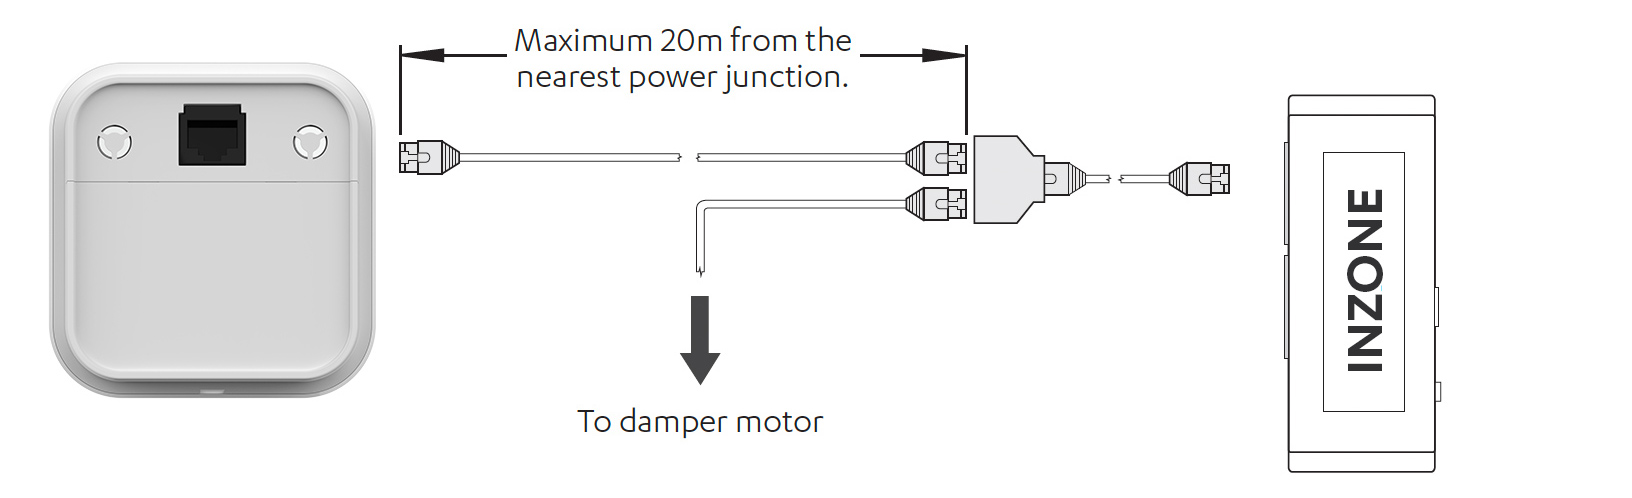
Power Supply Options
Zone Device Combinations
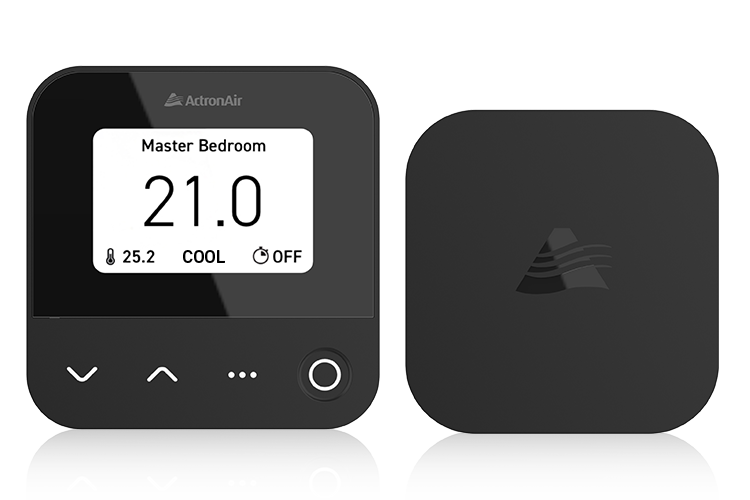
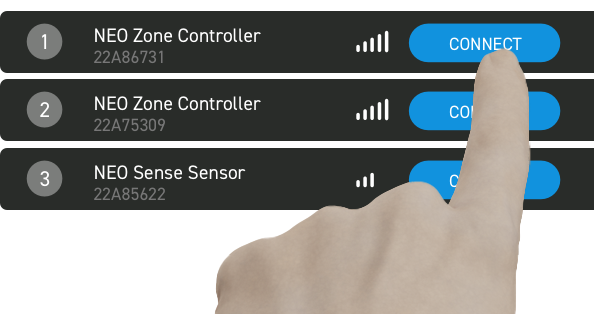
Pairing & Assigning
Set Temperature Adjustment
Mode Selection
Fan Speed Selection
Zone Timer

Zone Naming
Display Change
NEO Zone Specifications

Wall Mounting Instructions
Power Supply Options
Pairing & Assigning
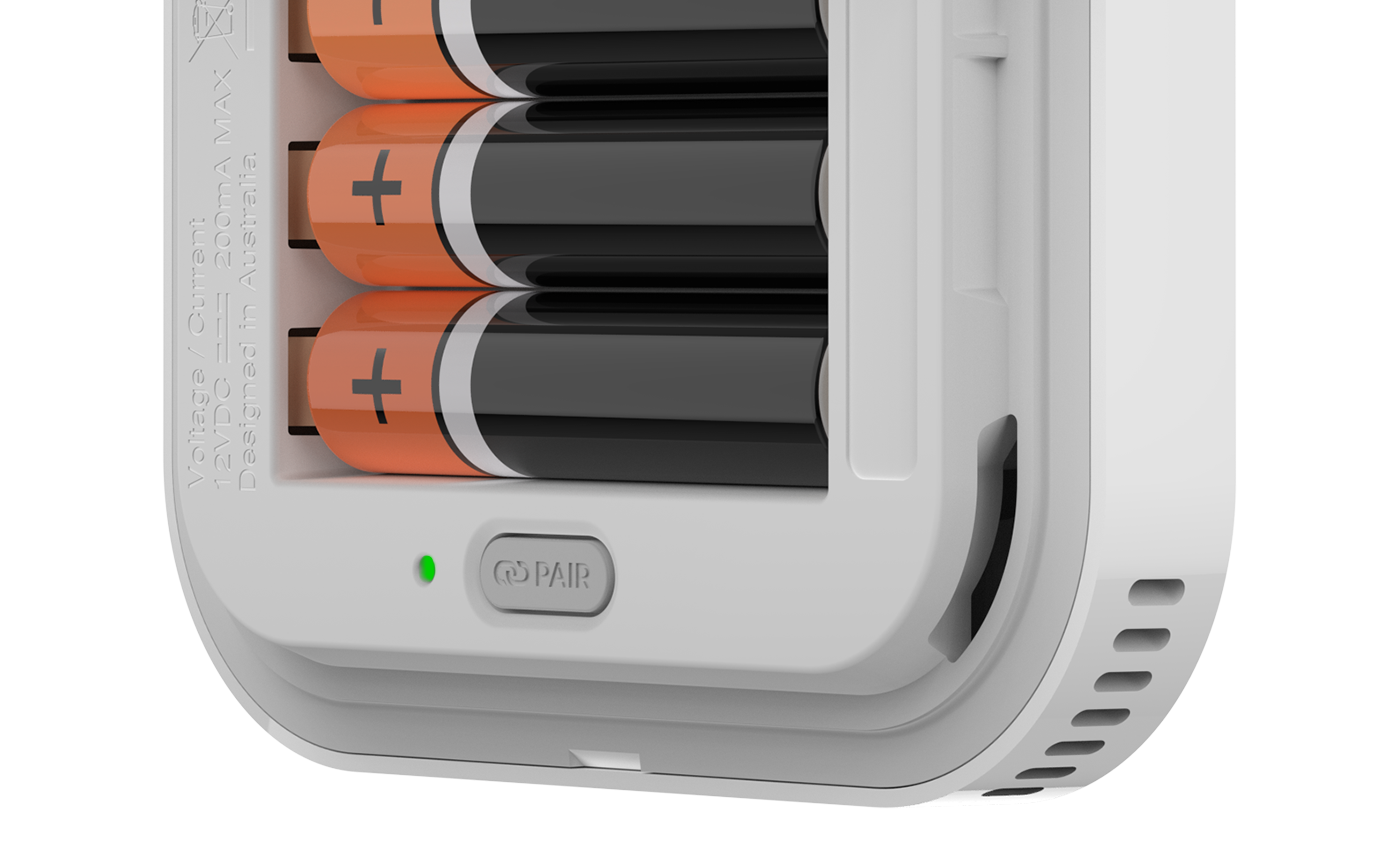
Near Field Communication (NFC)
NEO Sense Specifications