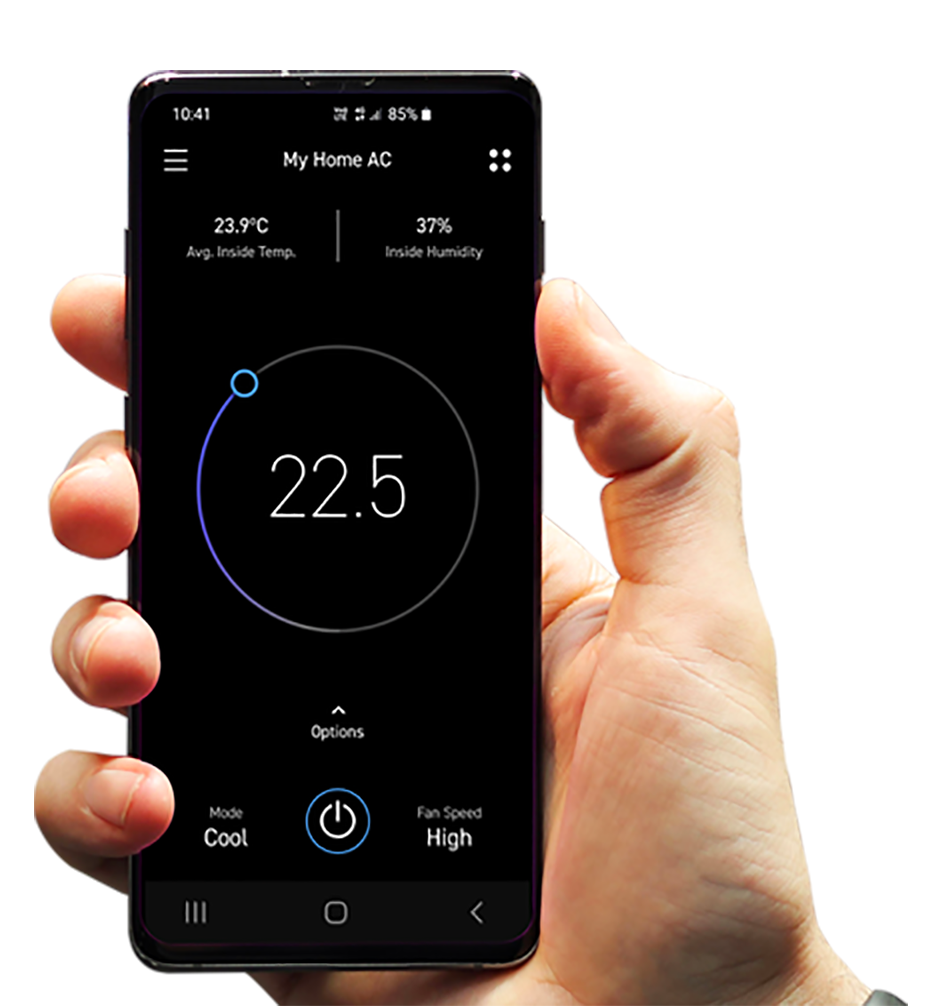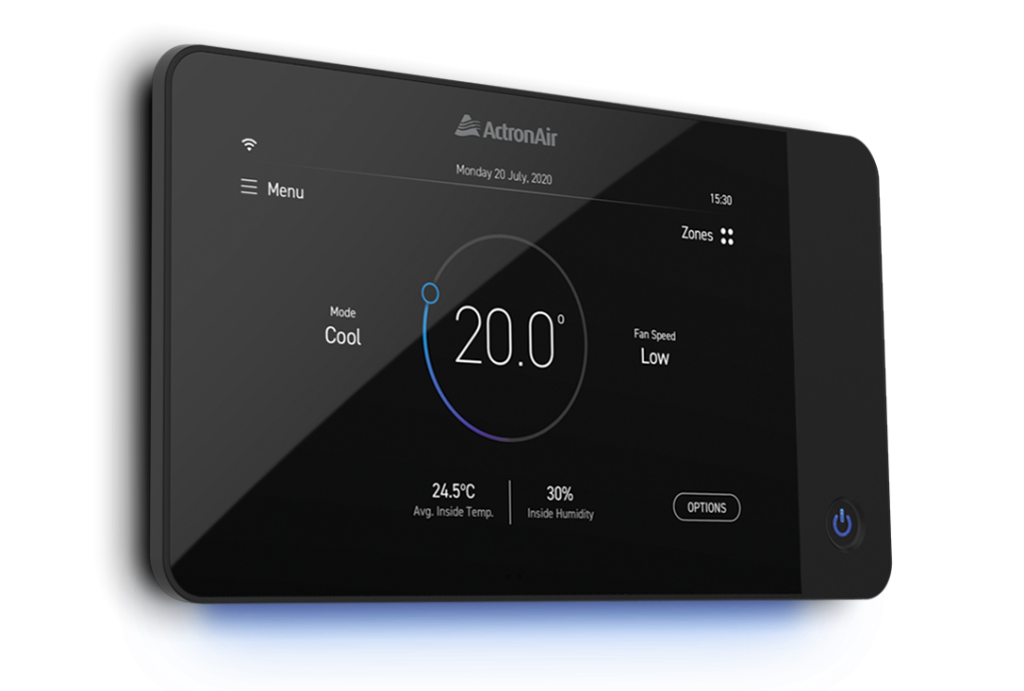

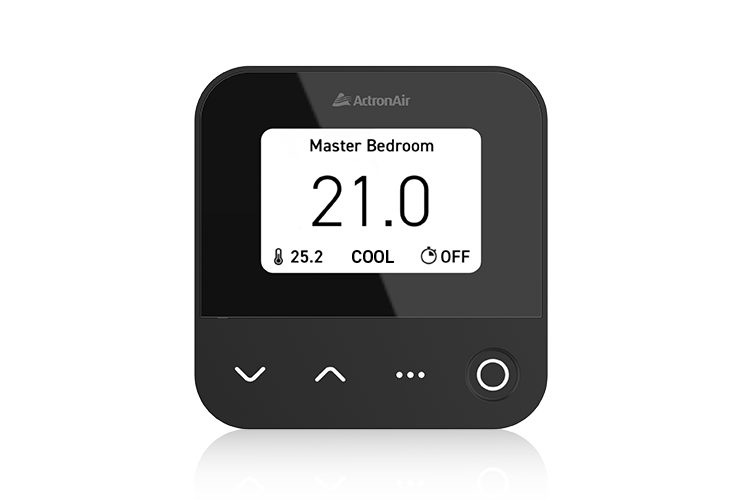
Set Temperature Adjustment

Mode Selection

Fan Speed Selection


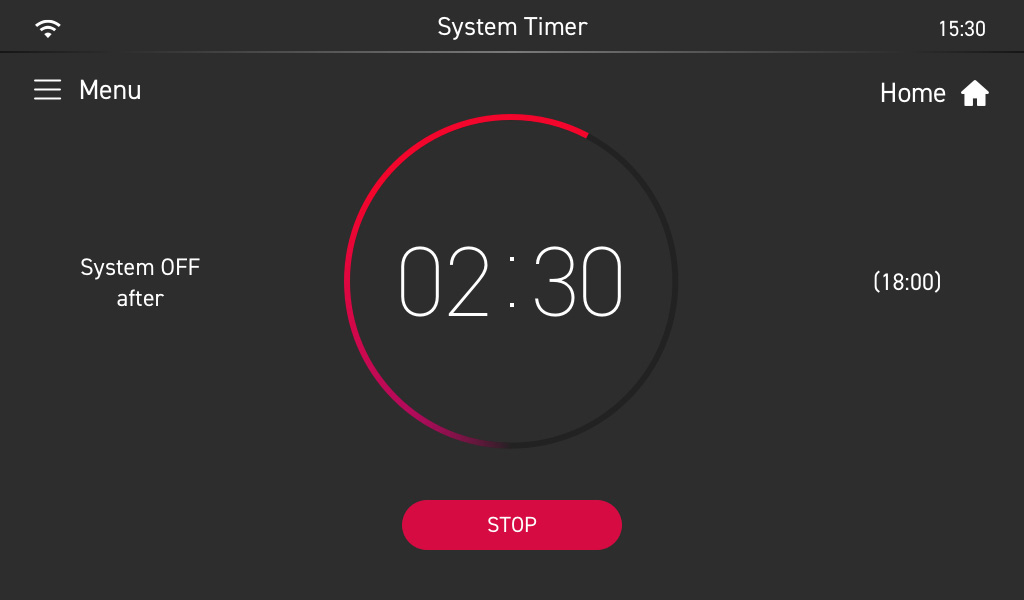
System Timer


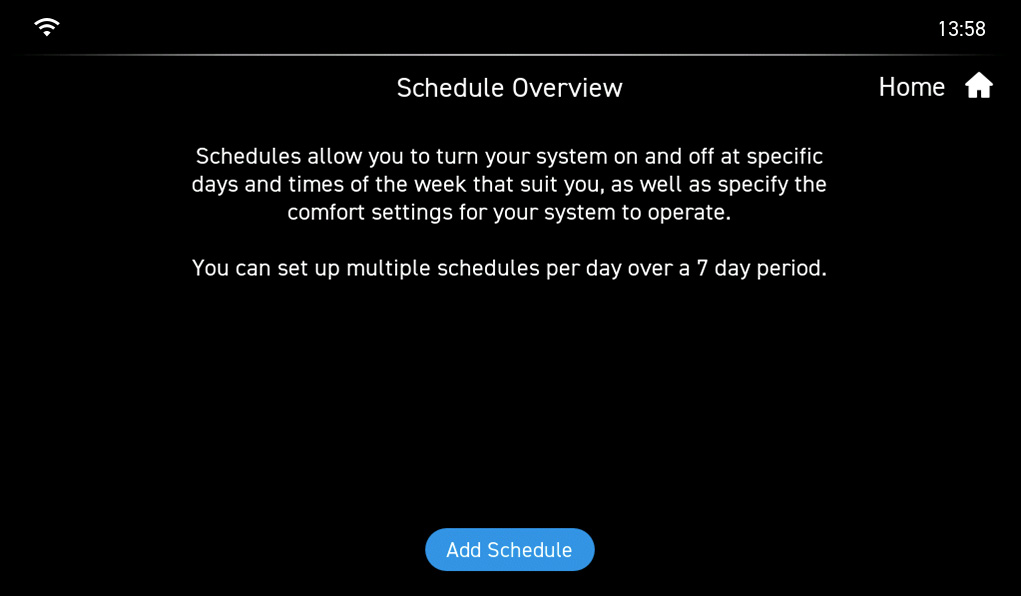
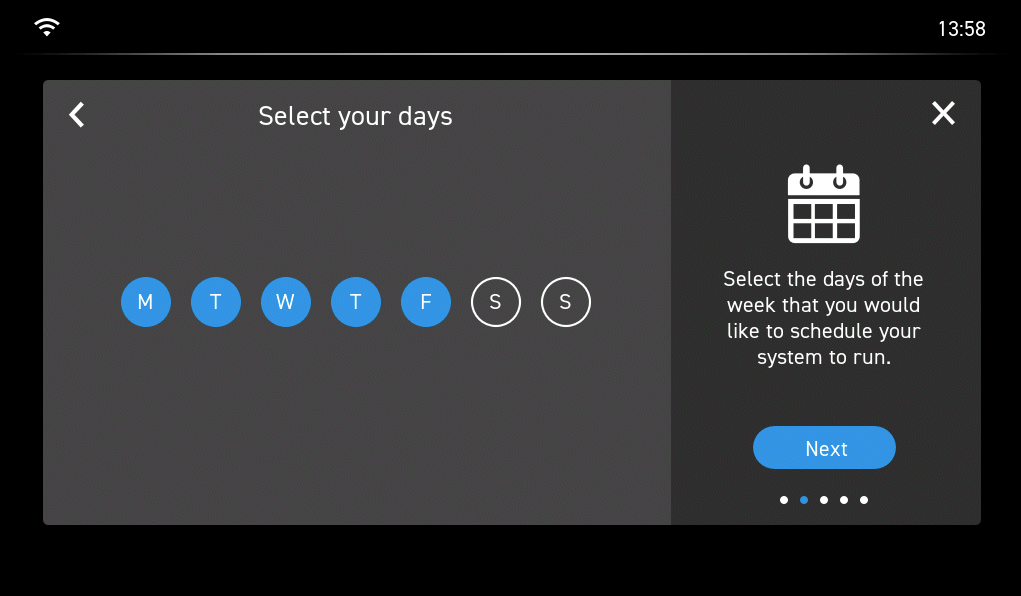
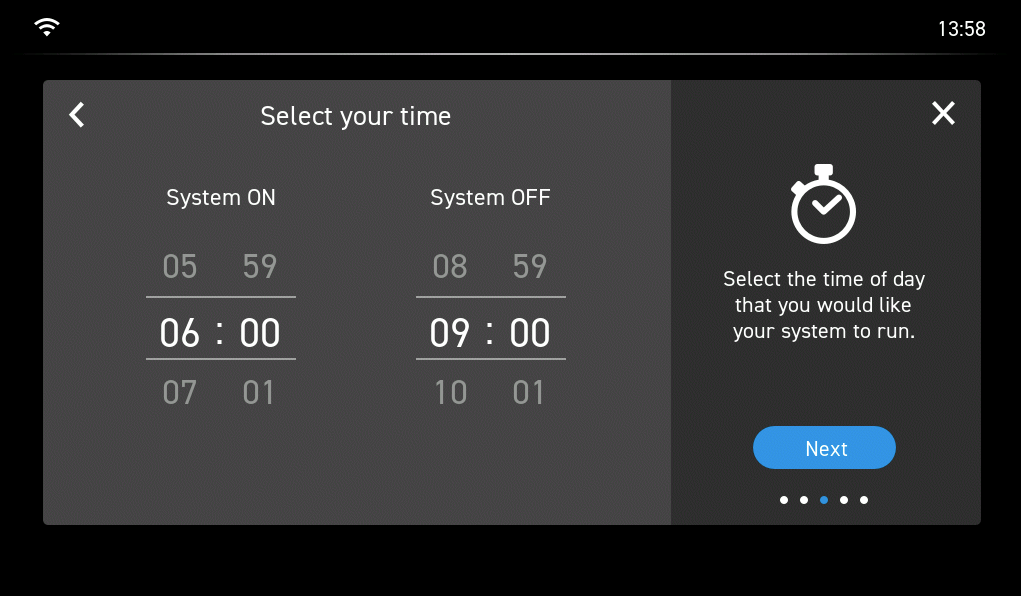
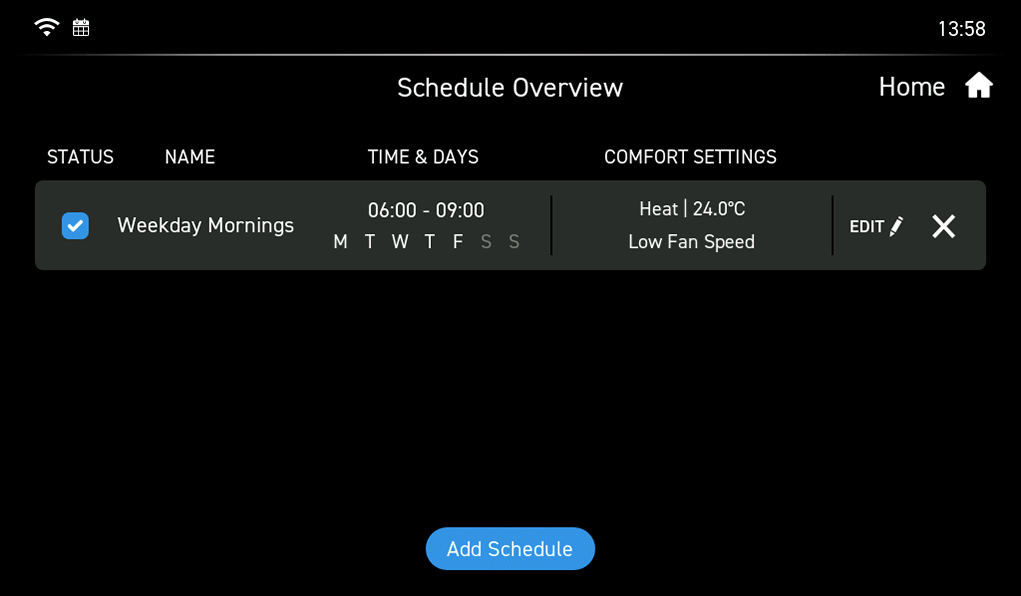
Schedules


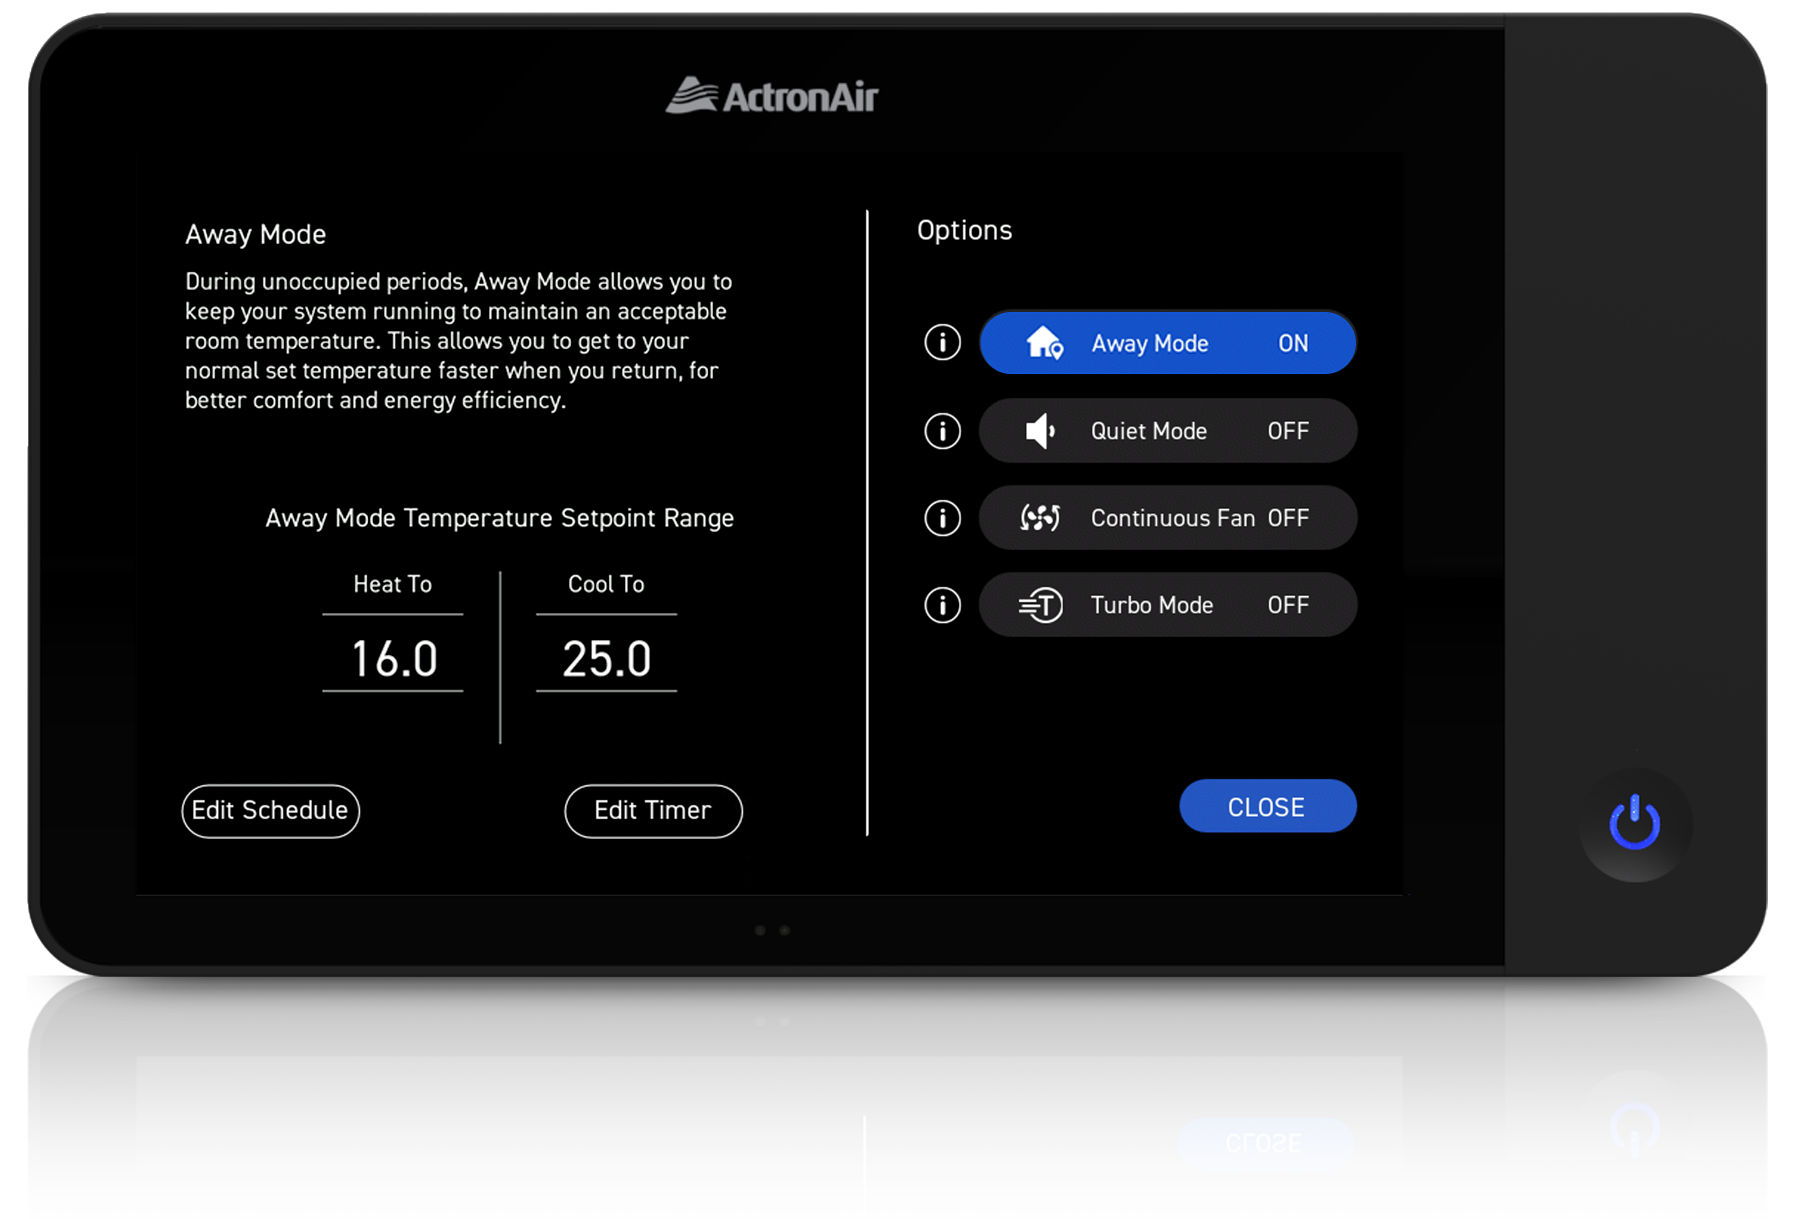
System Information

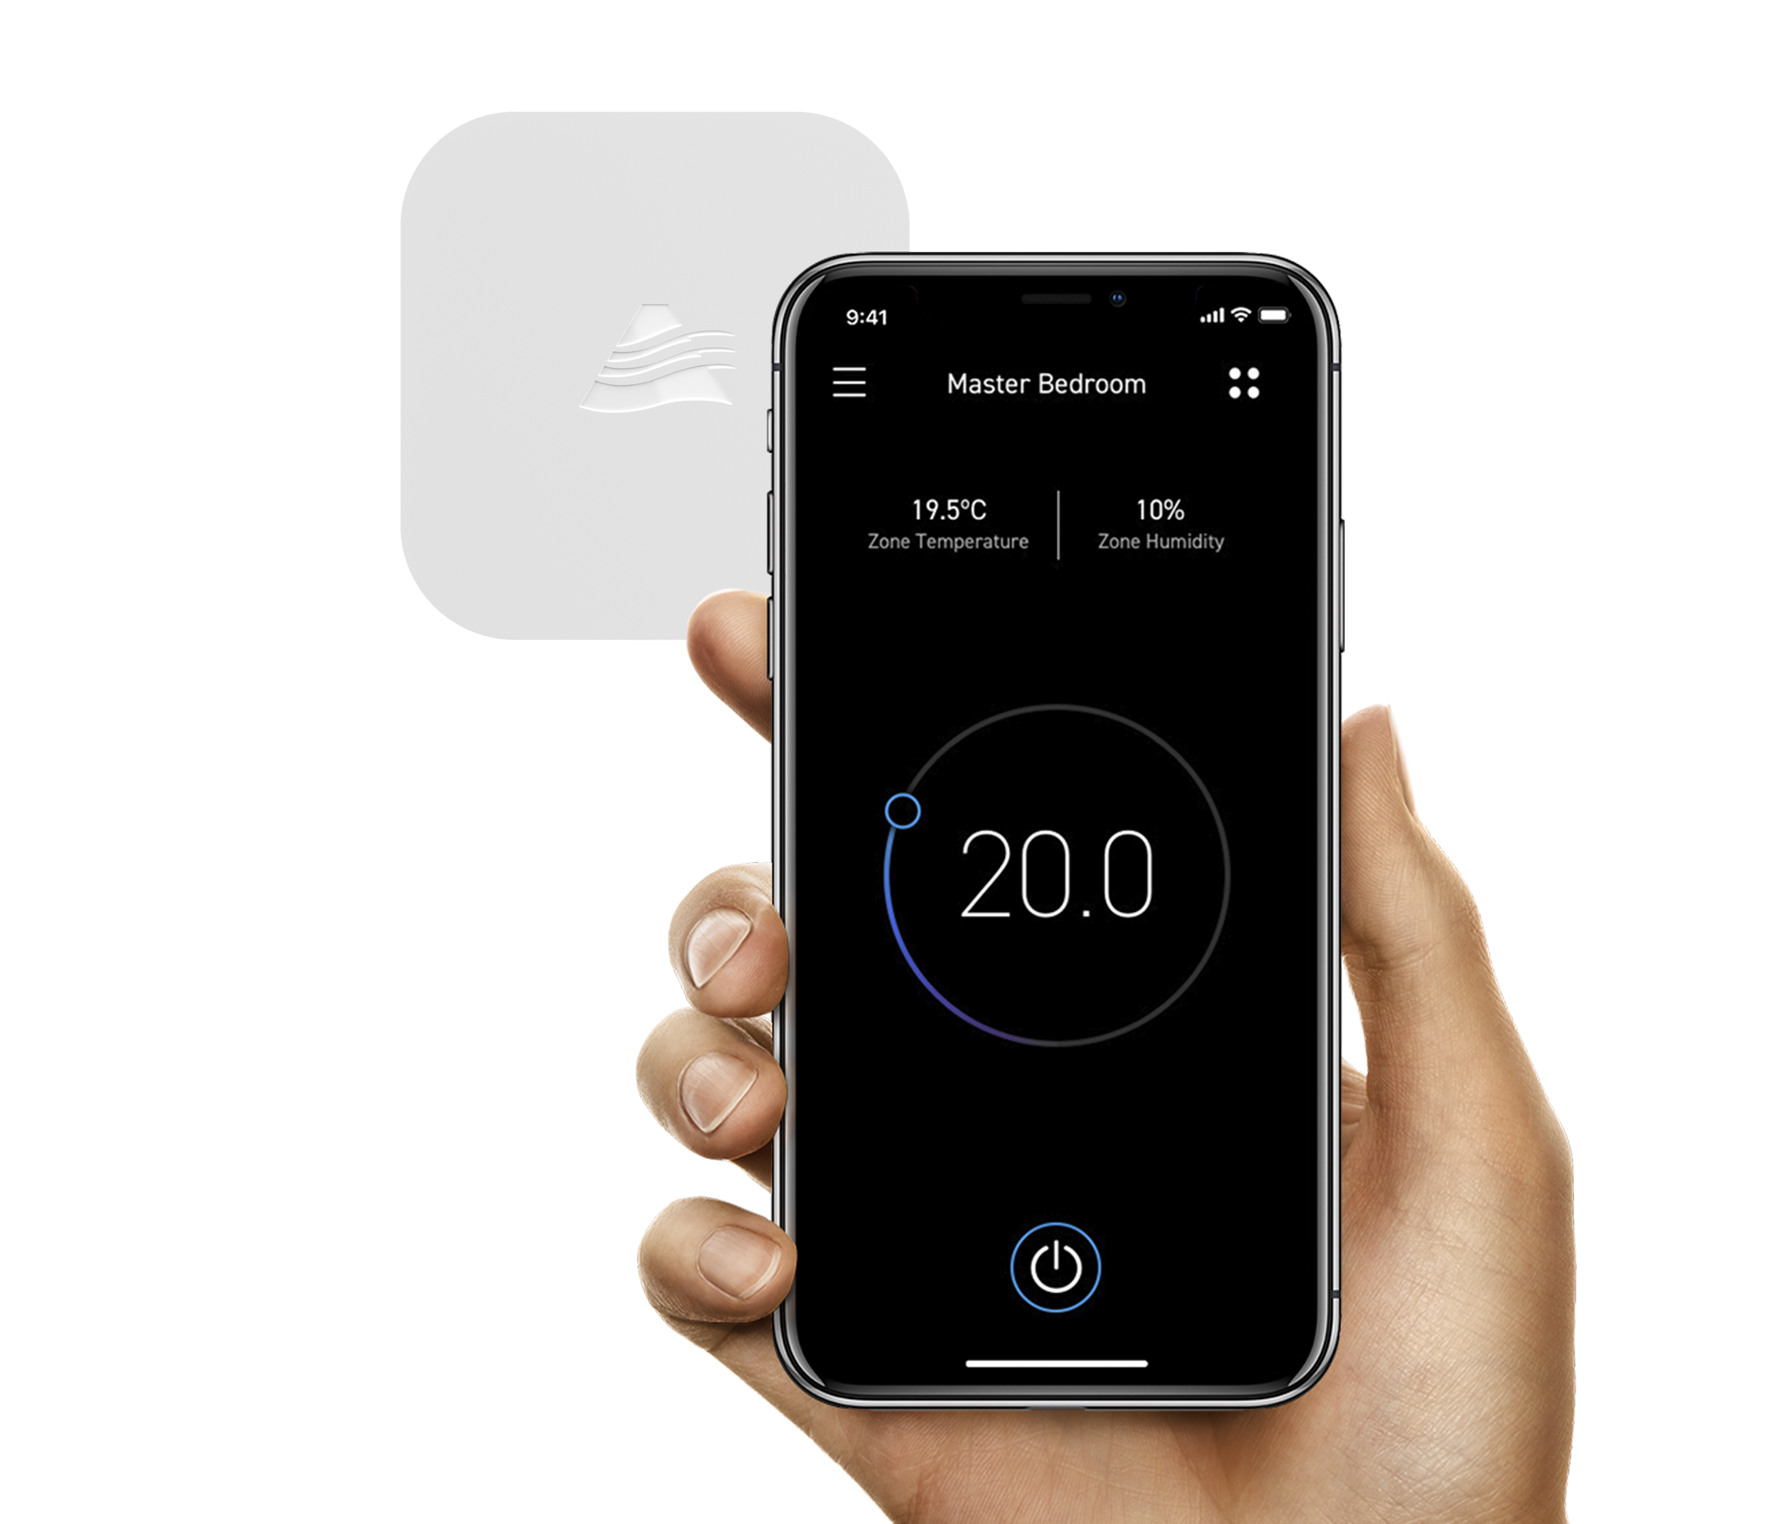
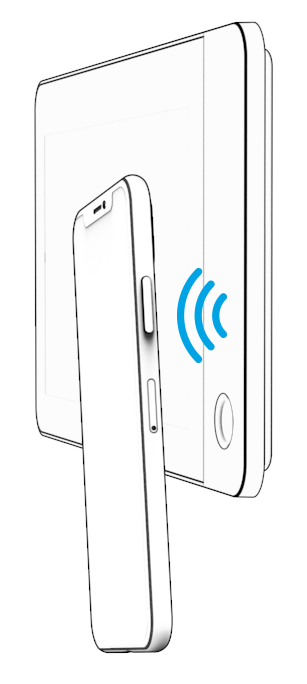
Near Field Communication (NFC)
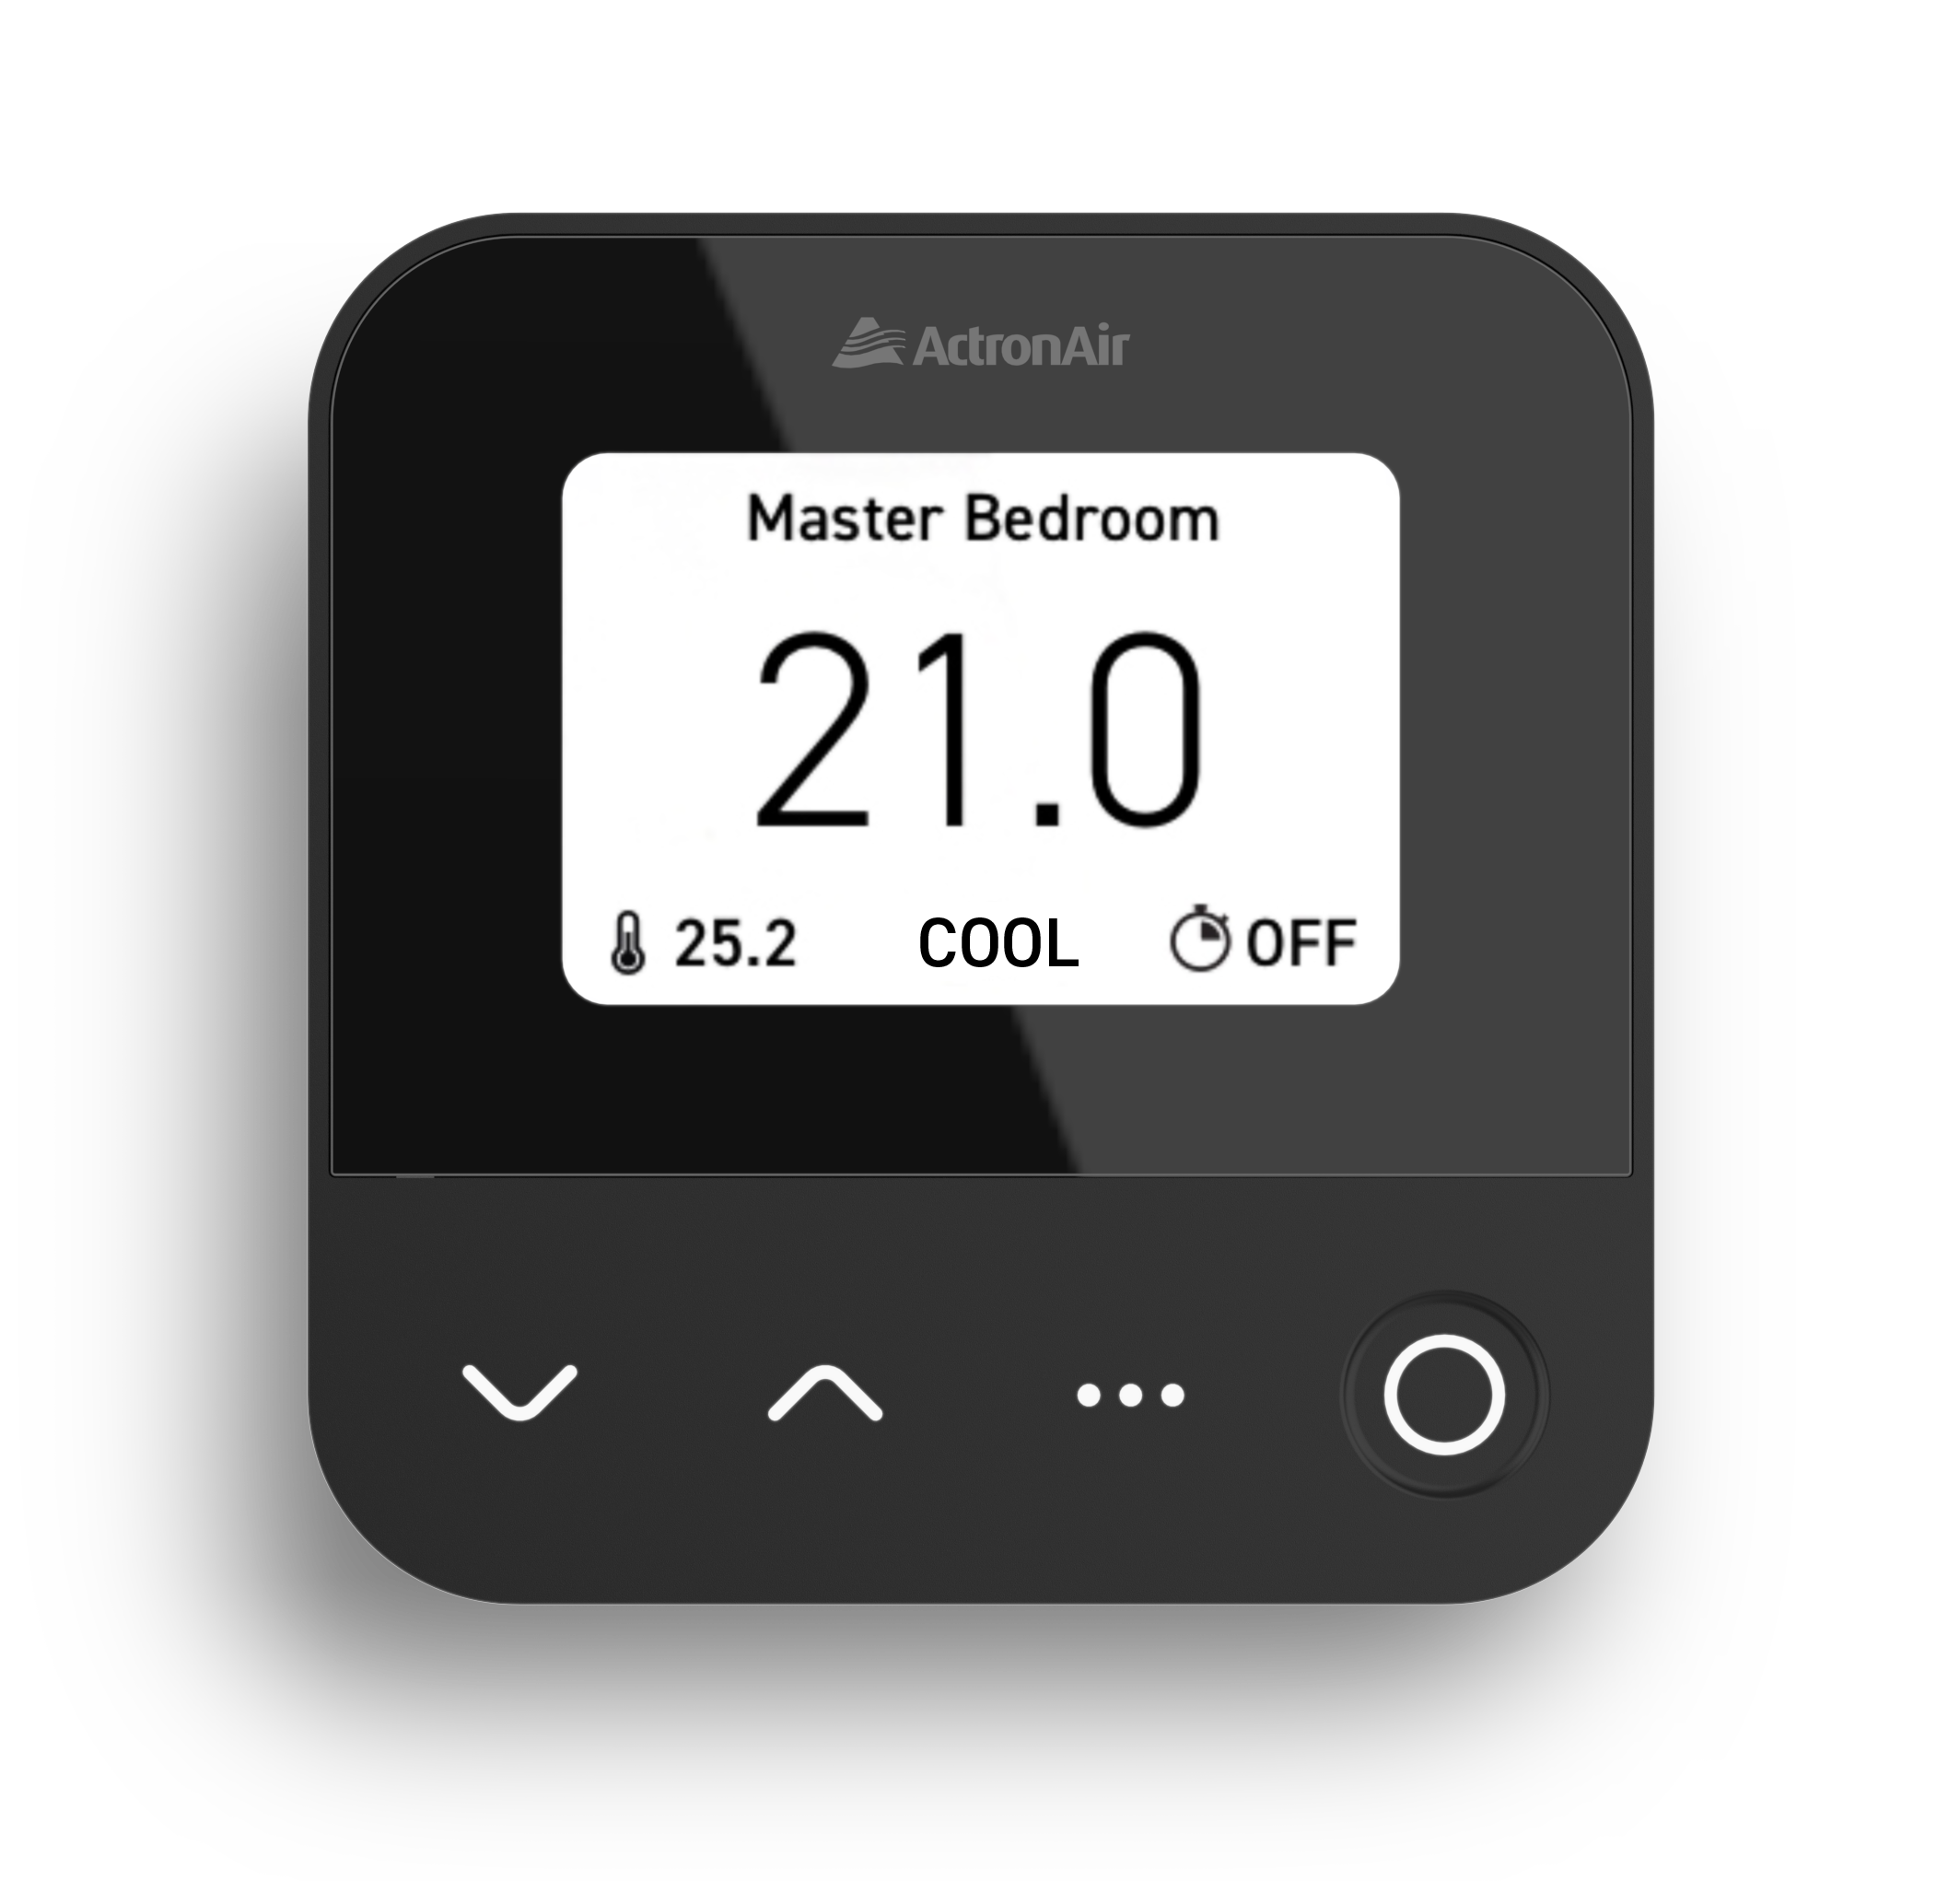
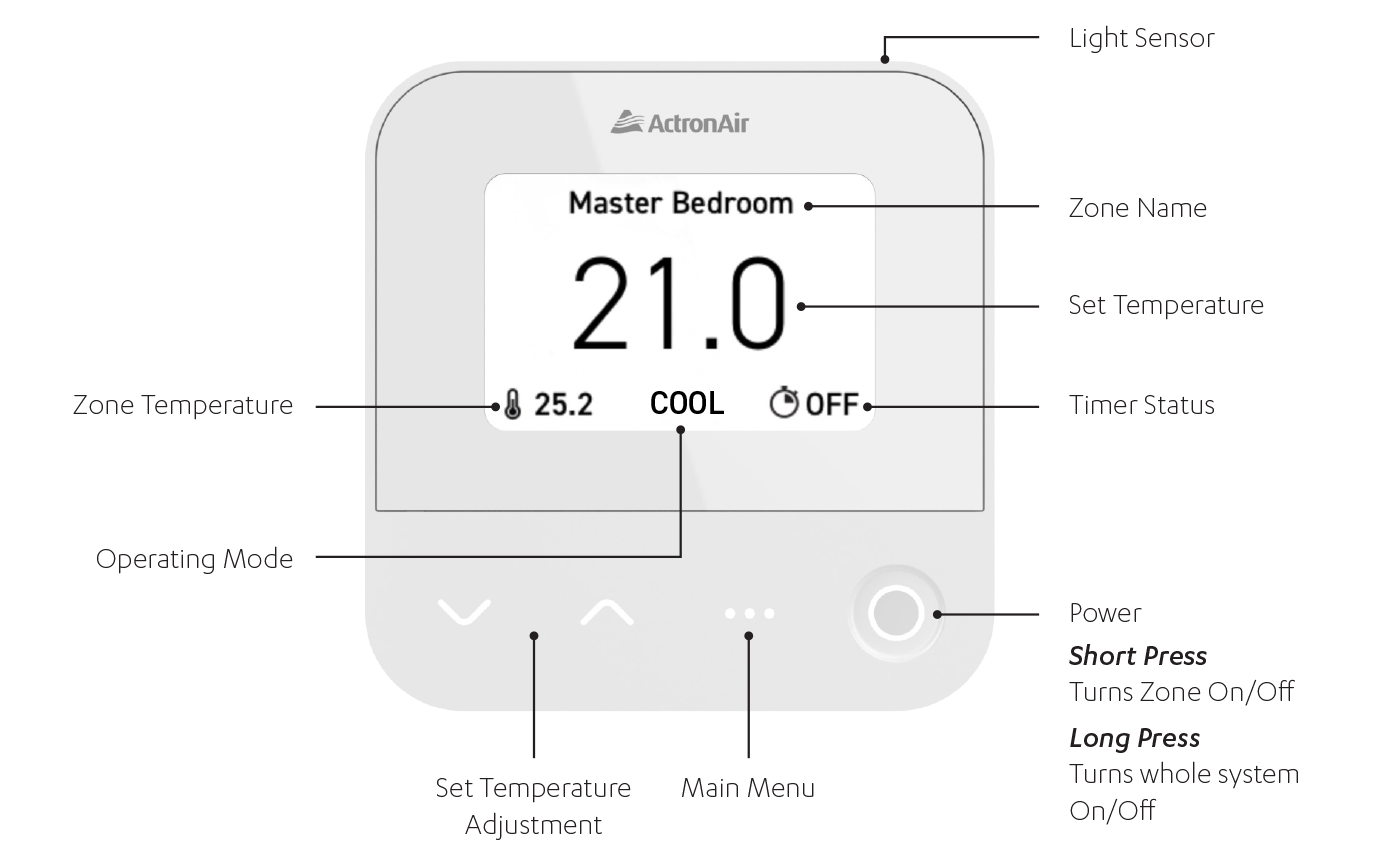
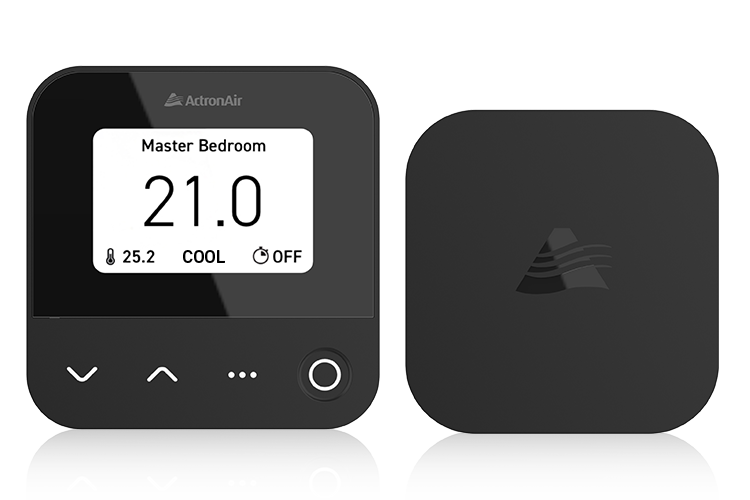
Overview

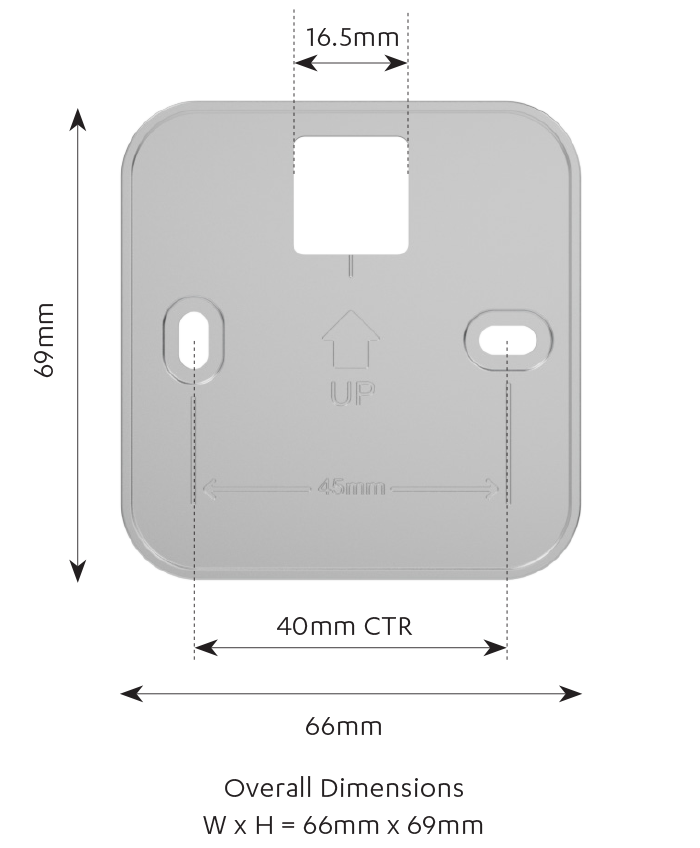
Installation Requirements
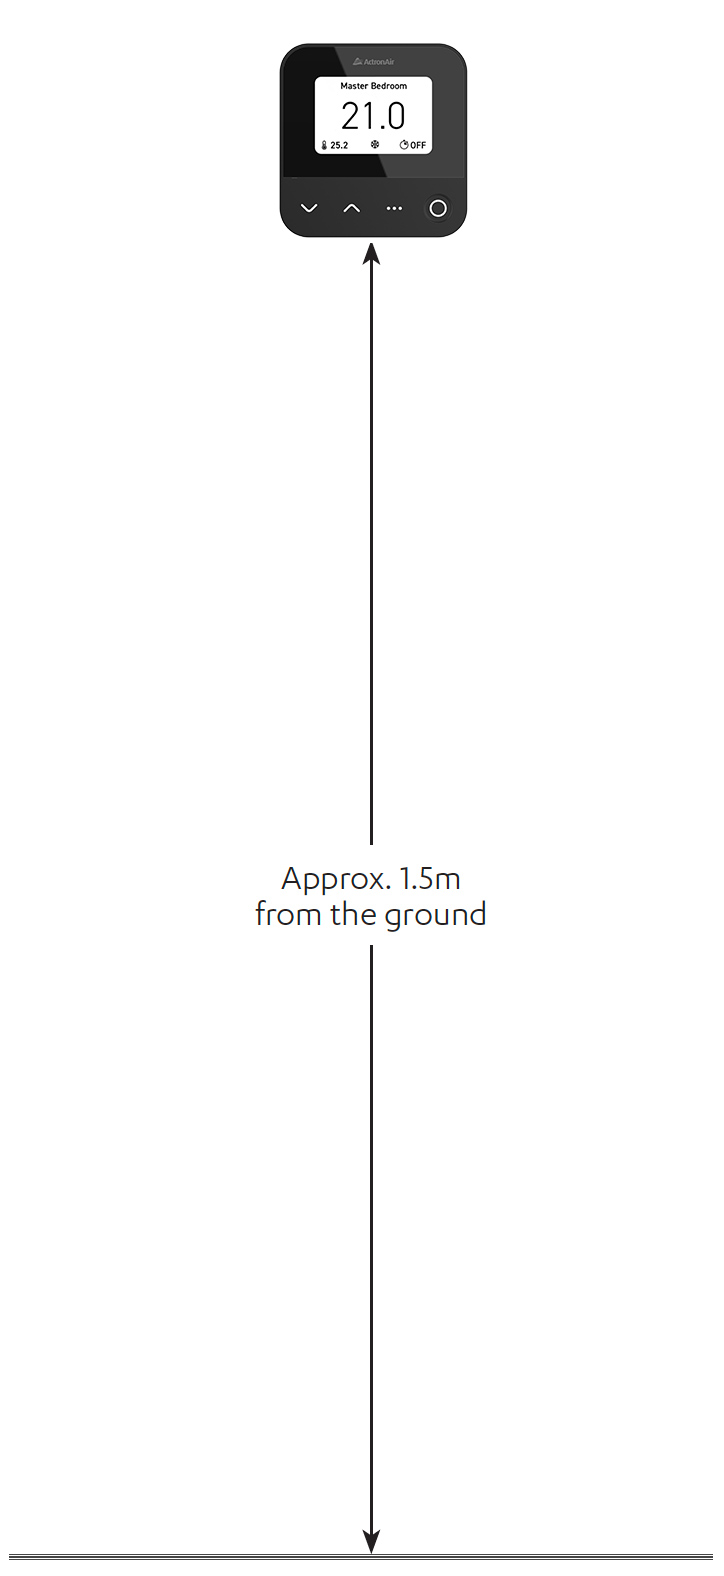
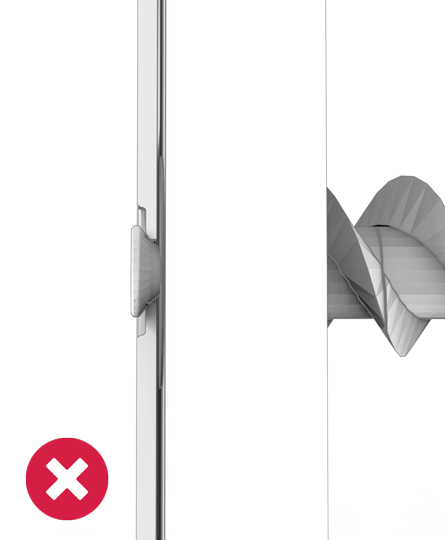
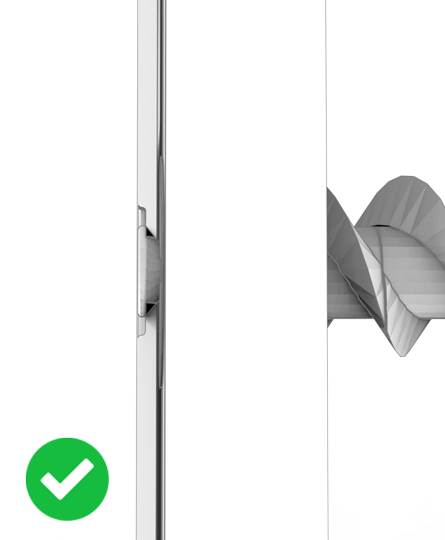
Wall Mounting Instructions
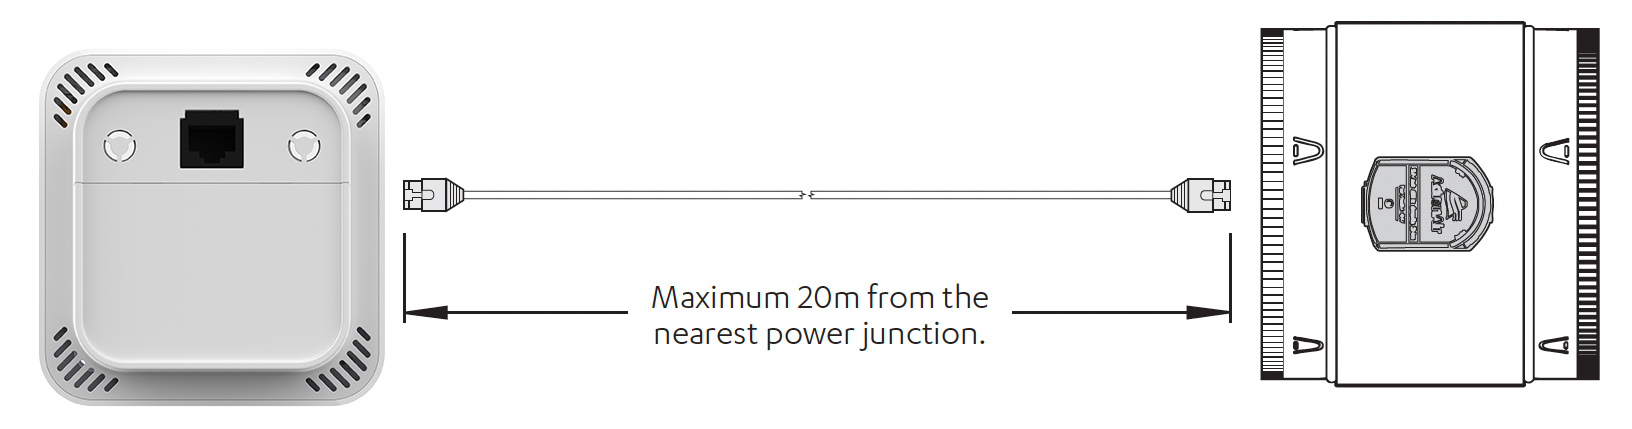
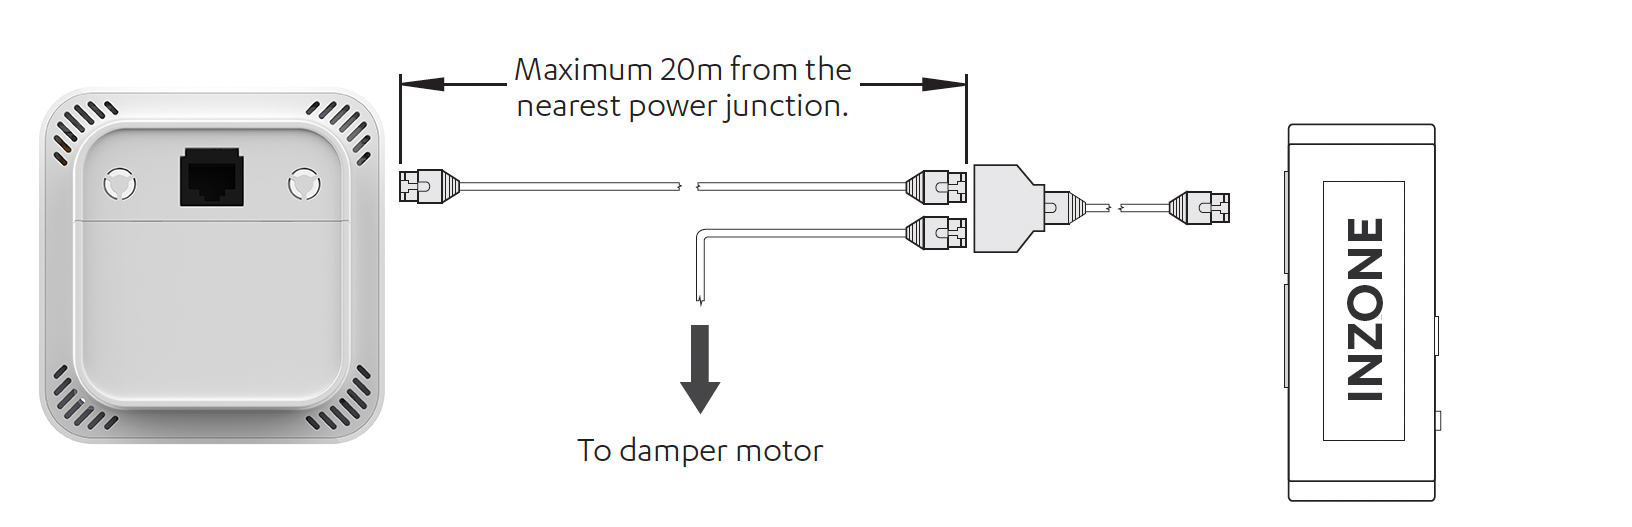
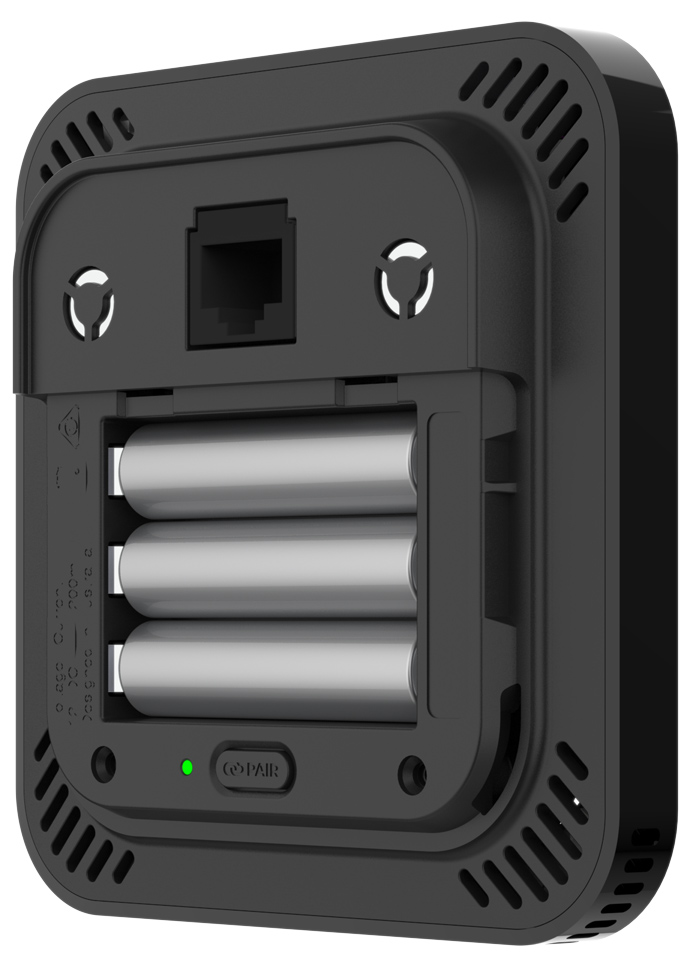
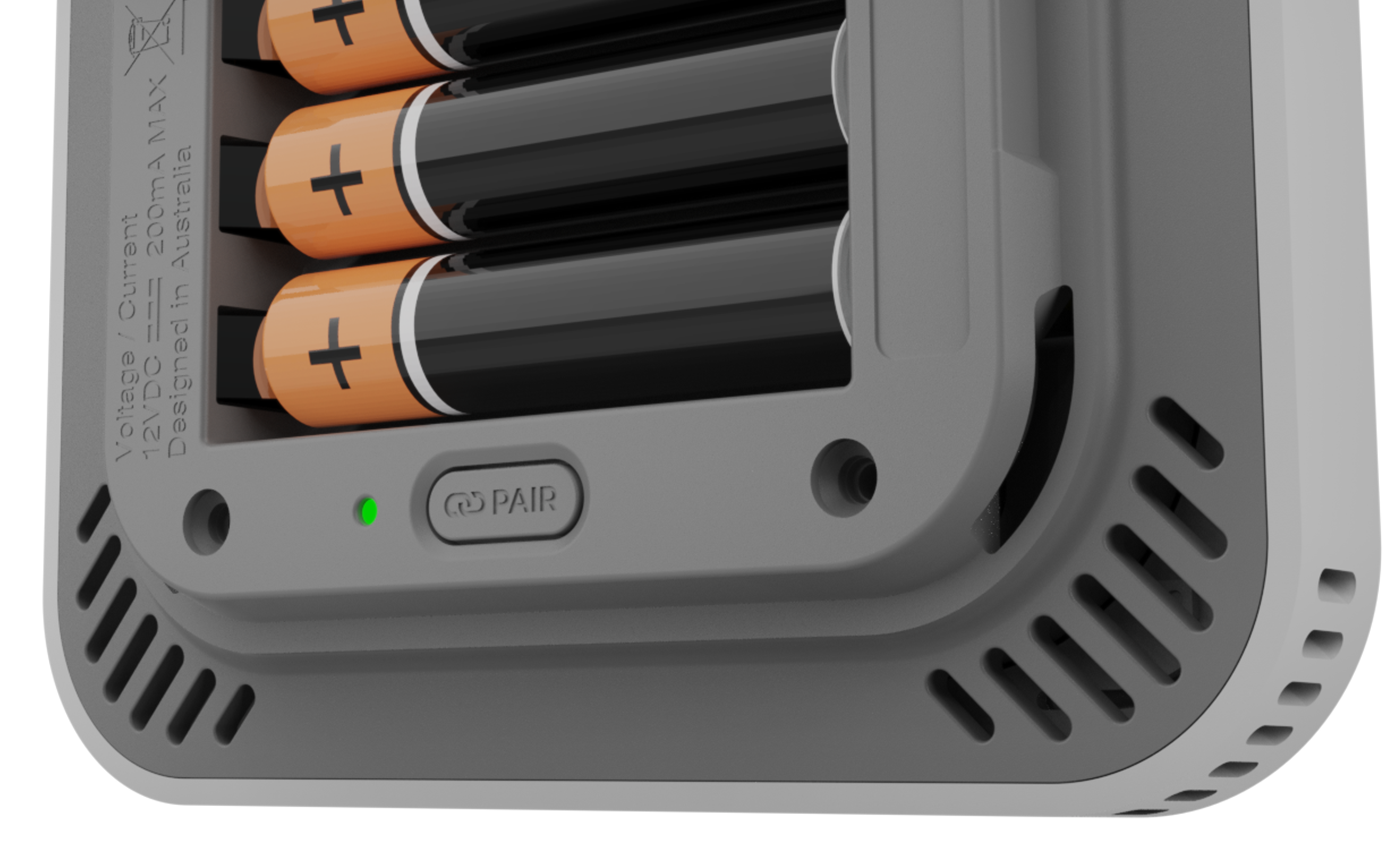
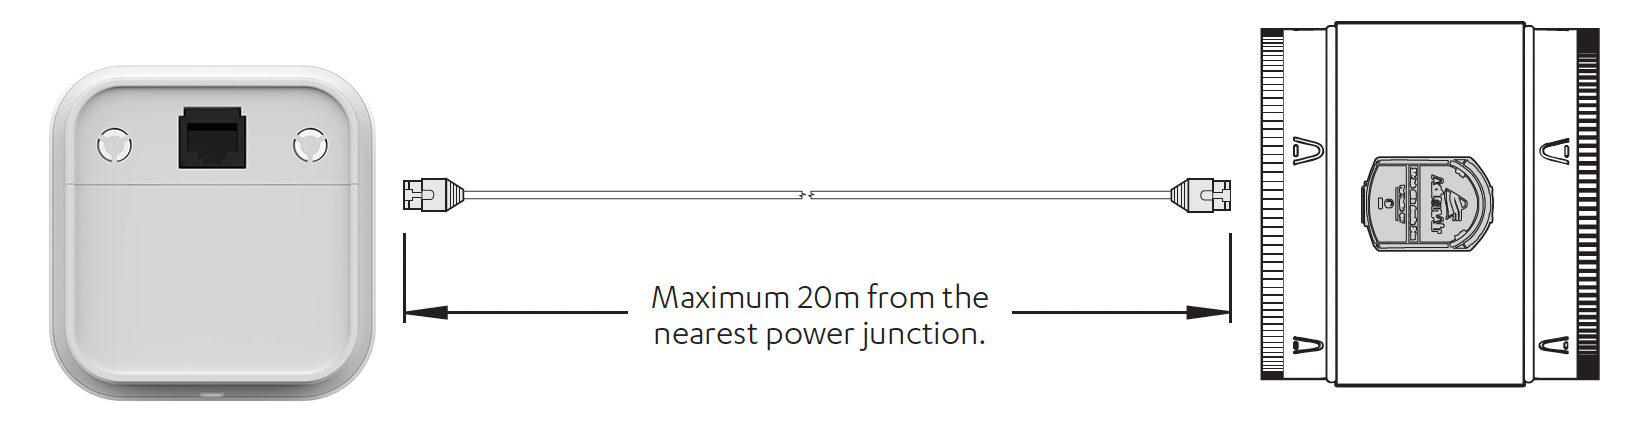
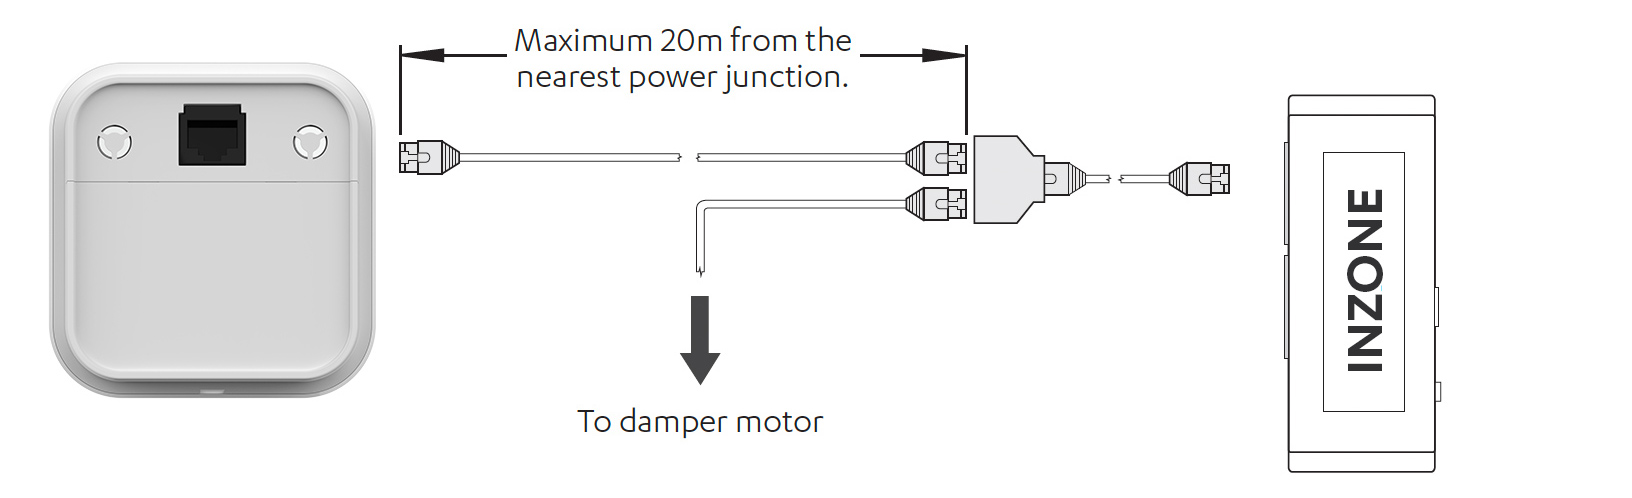
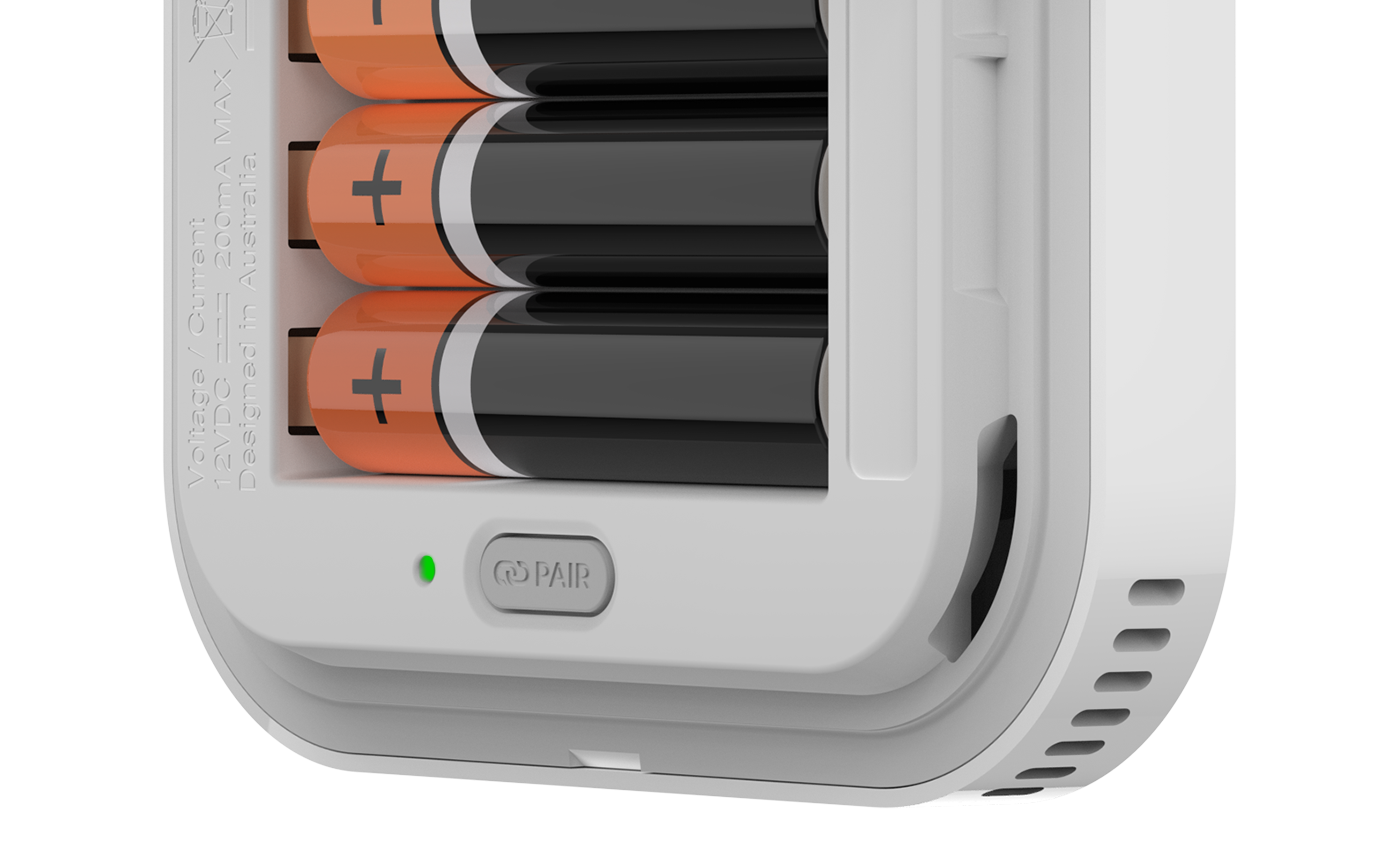
Power Supply Options
Zone Device Combinations
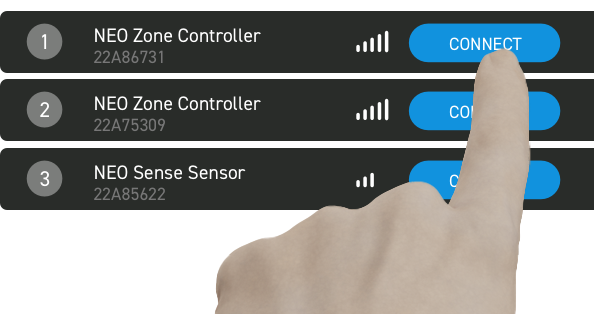
Pairing & Assigning
Set Temperature Adjustment
Mode Selection
Fan Speed Selection
Zone Timer

Zone Naming
Display Change

Wall Mounting Instructions
Power Supply Options
Pairing & Assigning
Near Field Communication (NFC)